
Green Build Lab Capstone Project
The Green Build Lab Capstone Graduation celebrated the completion of a 12-week sustainable design incubator where youth from the Boys & Girls Club explored natural building, reclaimed materials, and regenerative design. Students unveiled the Terra Pod — a mobile sink featuring solar power, a cob exterior, and a living roof — showcasing creativity, environmental stewardship, and hands-on innovation in action.

Building a Greener Future: The Green Build Lab Spring 2026
We’re excited to launch The Green Build Lab, a 12-week creative learning experience where students explore the power of sustainable design, art, and community impact.

Through hands-on workshops at JM Broward Teen Center and local urban farm, participants are diving into real-world eco-building projects—using natural and recycled materials to create functional, low-impact designs that serve the community.
From soil science and composting basics to regenerative design and creative reuse, each session inspires young builders to think critically about the environment and take action for a more sustainable future.

Join us as students unveil their Green Build Lab Capstone Projects this Earth Day, celebrating youth innovation, teamwork, and environmental stewardship.
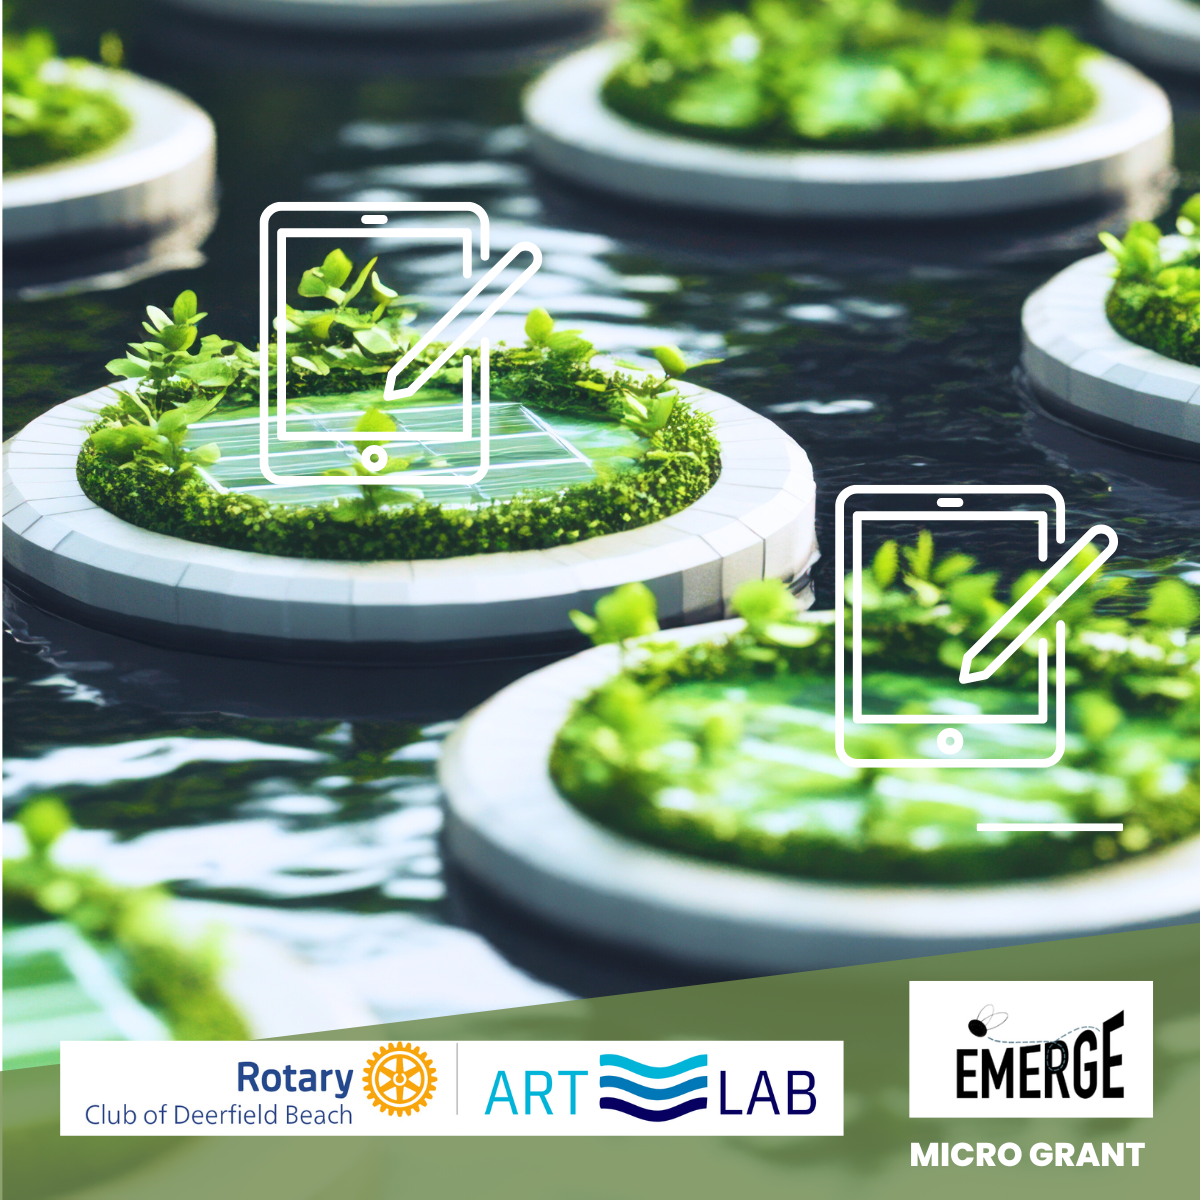
Dive into Sustainability: Students Experience Aquaponics and Citizen Science
Dive into Sustainability: Students Experience Aquaponics and Citizen Science
Students will have the opportunity to visit a local aquaponics farm, where they will explore how fish and plants grow together in a closed-loop system. Using the GLOBE Observer Mosquito Habitat Mapper and Land Cover tools, participants will track water habitats, study ecosystem health, and contribute to global citizen science.
Thanks to GeoEMERGE funding and the support of The Rotary Club of Deerfield Beach. this hands-on experience will connect students to science, sustainability, and real-world food systems—all while having fun and discovering future opportunities in environmental science and conservation.

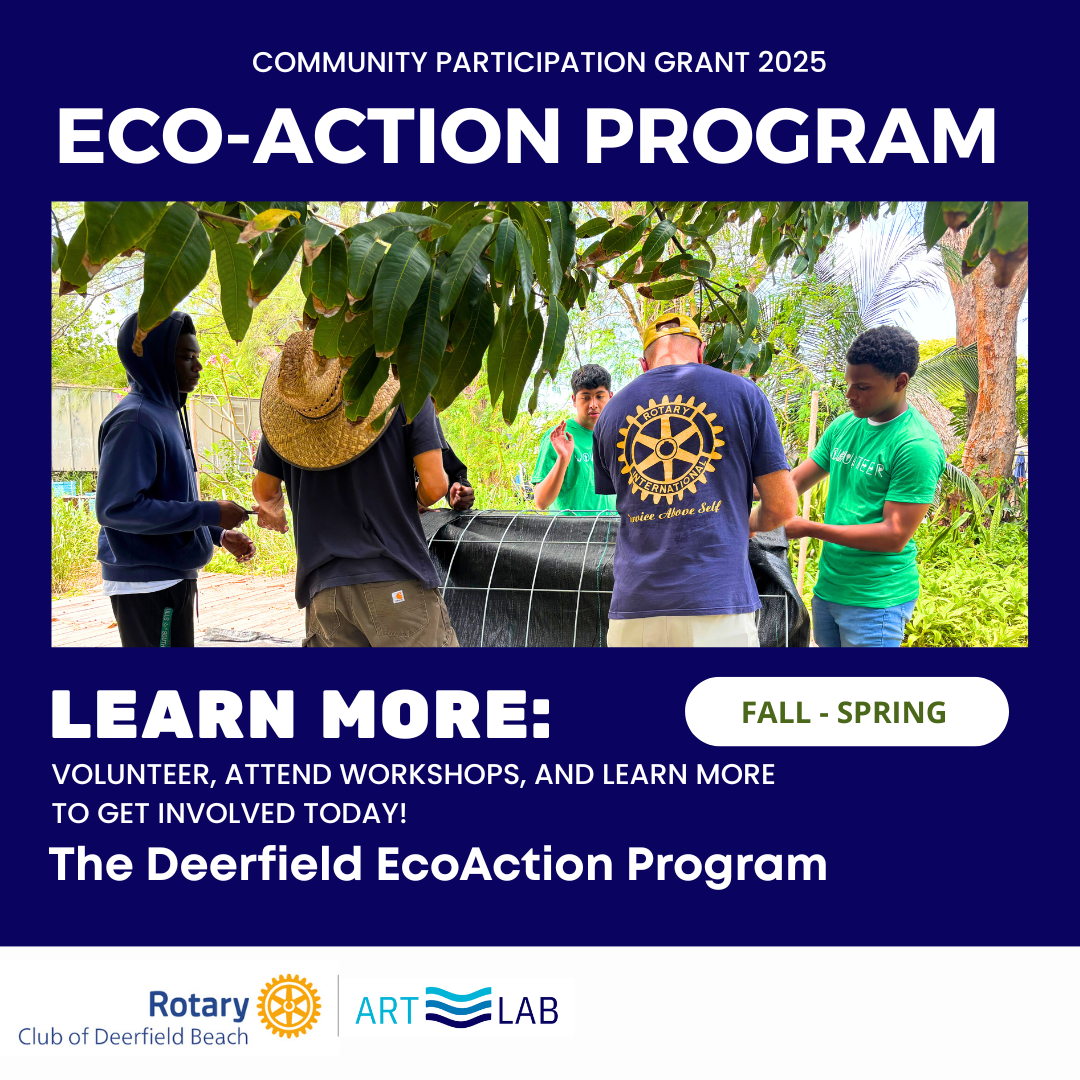
Eco Action Community Program
We were awarded Community Participation Grant to Bring Eco Action Lab to Deerfield Beach Schools.
We’re thrilled to announce that The Art Lab, in collaboration with the Rotary Club of Deerfield Beach, has been awarded a Community Participation Grant to bring our Eco Action Lab directly into local public schools!
This exciting initiative offers hands-on STEM + Art workshops where students explore sustainability, composting, soil science, and creative environmental projects. Designed for project-based learning, the program empowers students to develop problem-solving, leadership, and environmental stewardship skills while engaging their creativity and curiosity.
Students across Deerfield Beach will have the opportunity to learn, create, and make a real impact on their environment—building the next generation of thoughtful, innovative, and eco-conscious leaders.


Embark on an Extraordinary Journey to Zero Waste
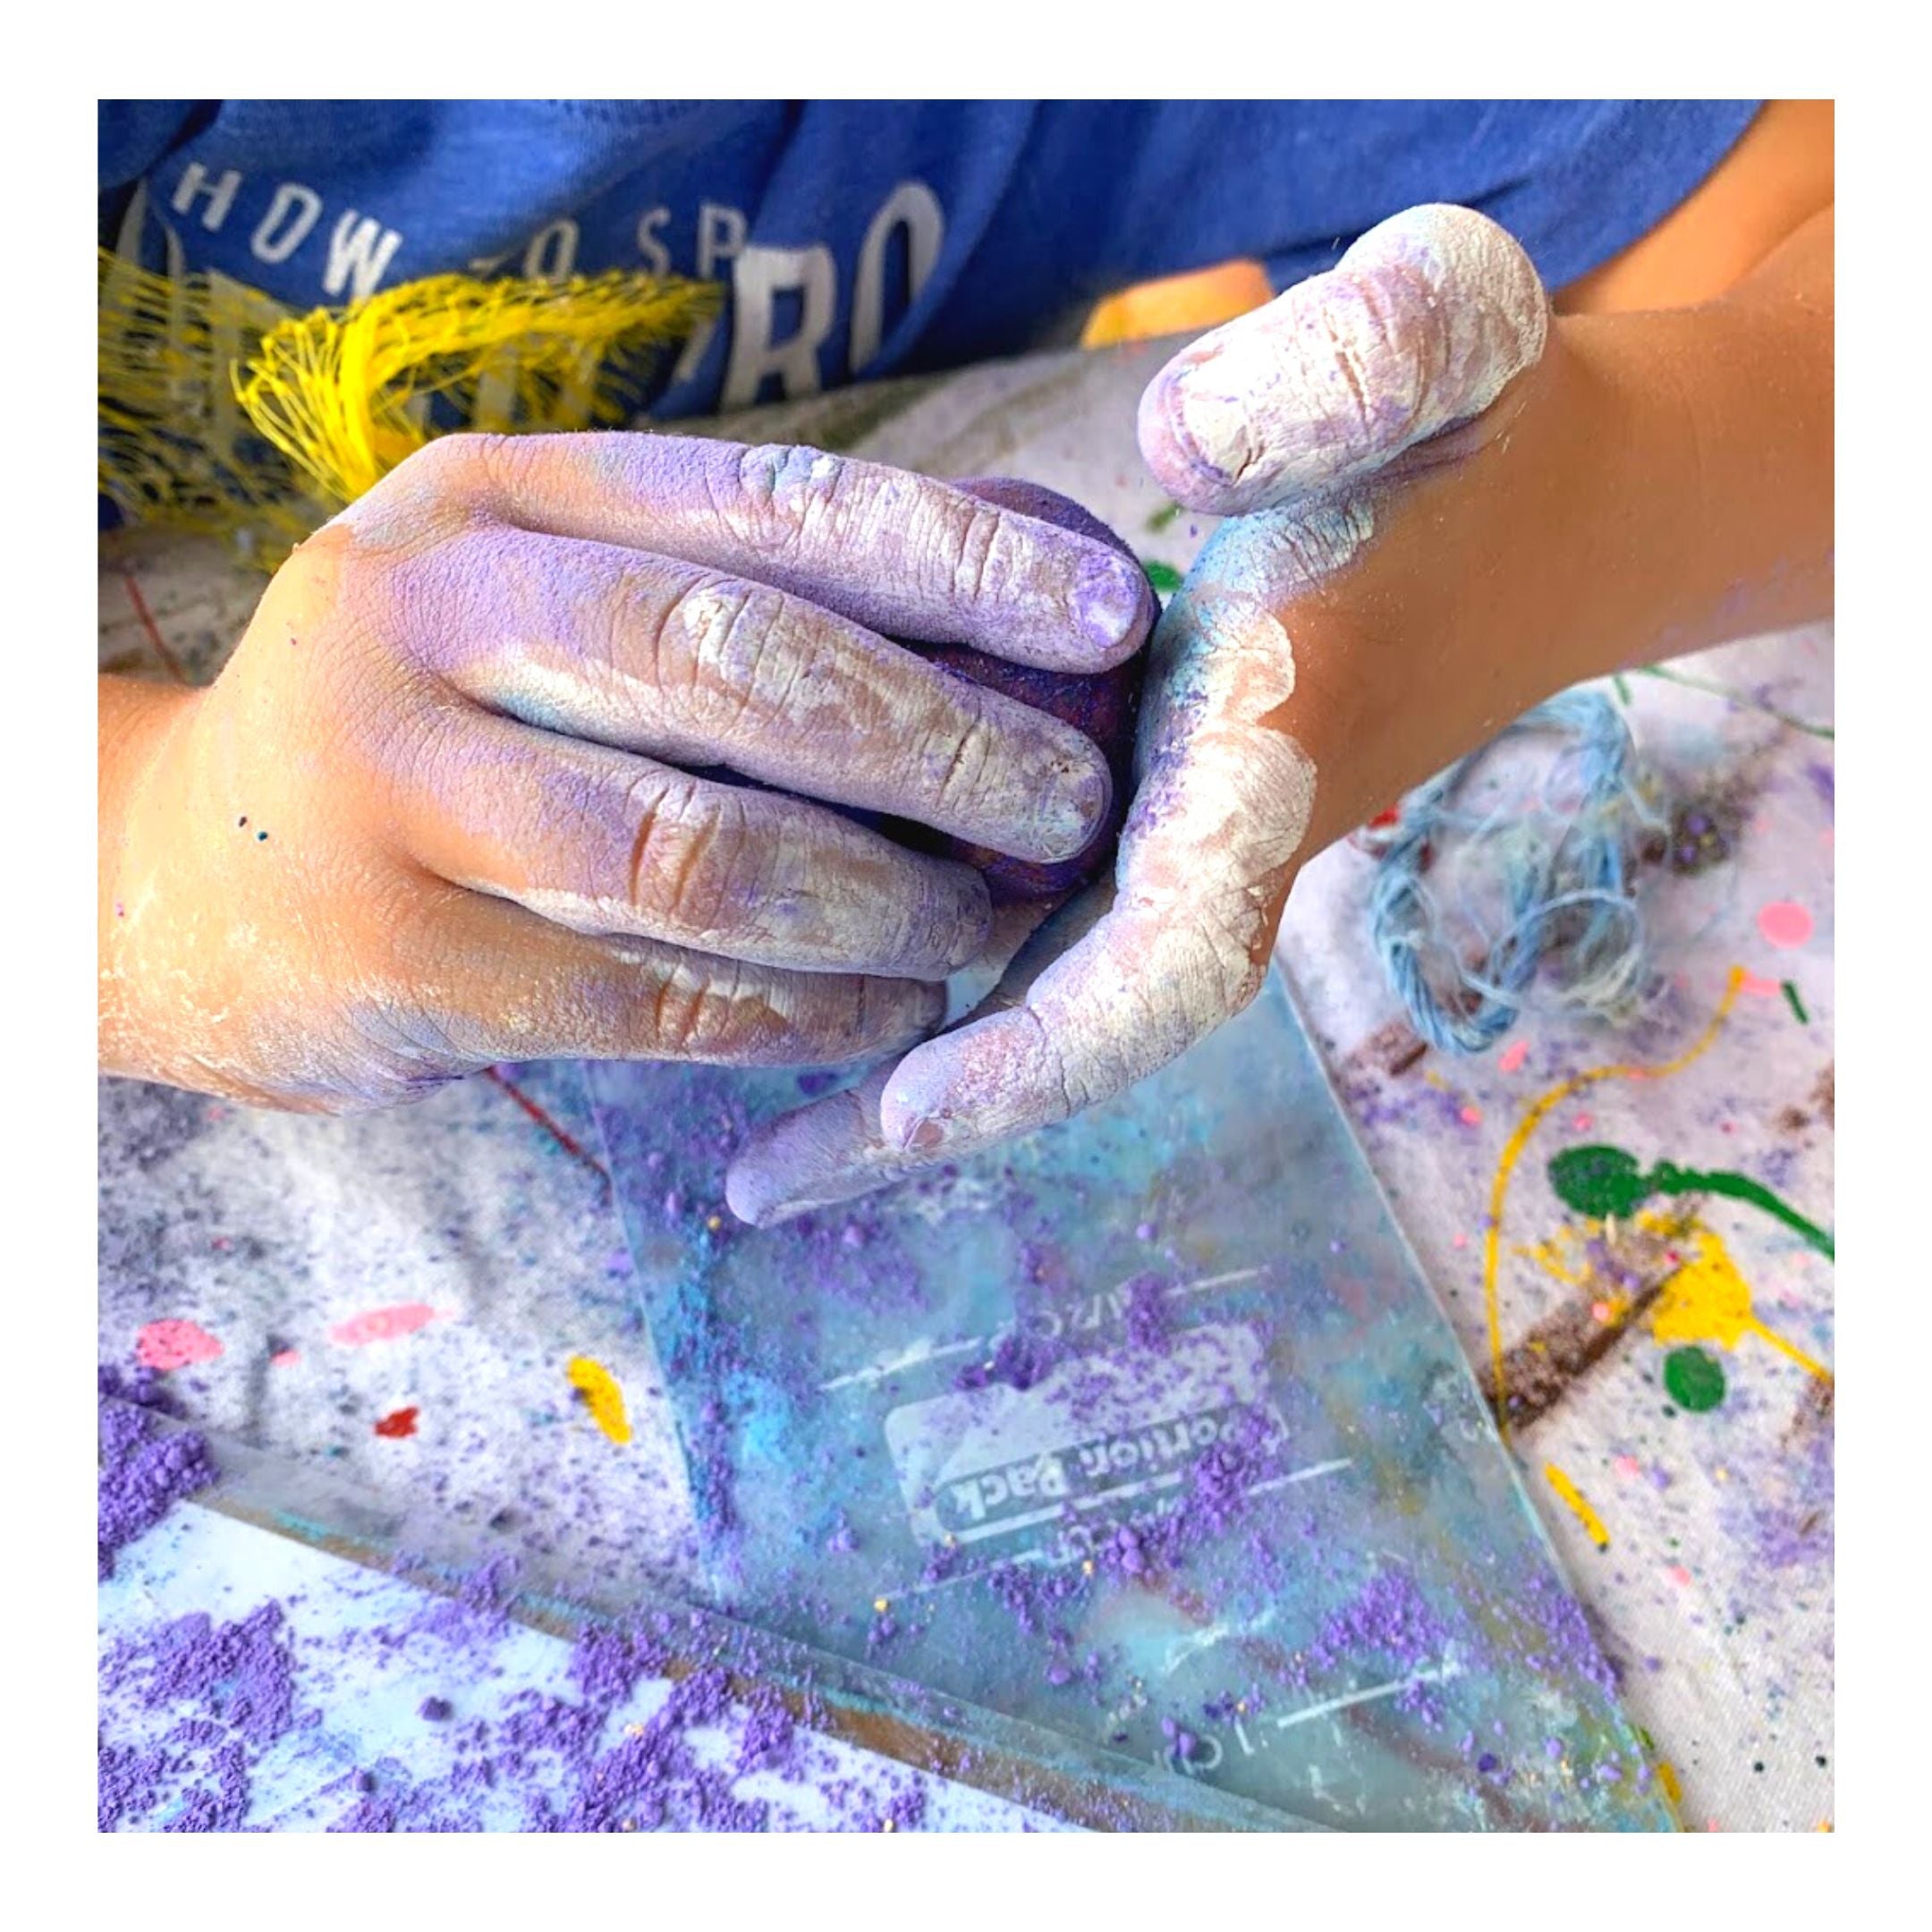
At Zero Waste Lab, we believe that small actions can lead to big changes. That’s why we’re inviting learners to embark on an extraordinary journey into the world of zero waste, where they’ll discover how composting, recycling, and sustainable choices can create lasting positive impacts on the environment.

Through hands-on experiences, participants will explore how to grow their own leafy greens, turn waste into valuable compost, and make informed decisions that help reduce their carbon footprint. This journey isn’t just about learning; it’s about taking action to build a greener, cleaner future for our communities.
Our program focuses on teaching young minds the importance of sustainability—how composting not only reduces waste but also nurtures the soil, how recycling and waste diversion protect our resources, and how the choices we make every day can have a profound effect on the planet.

By engaging in these activities, learners don’t just gain knowledge—they gain the tools to take action. From designing creative solutions for local waste challenges to experimenting with eco-friendly alternatives, Zero Waste Lab empowers participants to lead the way in creating a sustainable future.

Meet our Maker in Residence
Meet Sam, our Maker in Residence a permaculture educator, industry expert, seasoned horticulturist, smoothie chef and community enthusiast. Experienced in a broad range of topics, from the fundamentals of hydroponics to advanced techniques in plant nutrition and sustainable agriculture. Get to know him, here.

He is on a mission to bridge the gap between theory and practice on growing our own food.
Guiding our learners in the garden lab to immerse themselves in practical exercises, designing and building their hydroponic setups. Our commitment to experiential learning means teaming up with amazing educators offering new insights and approaches to the science learning journey via project based lessons.

Innovative Art Show: Celebrating Youth as Environmental Artists
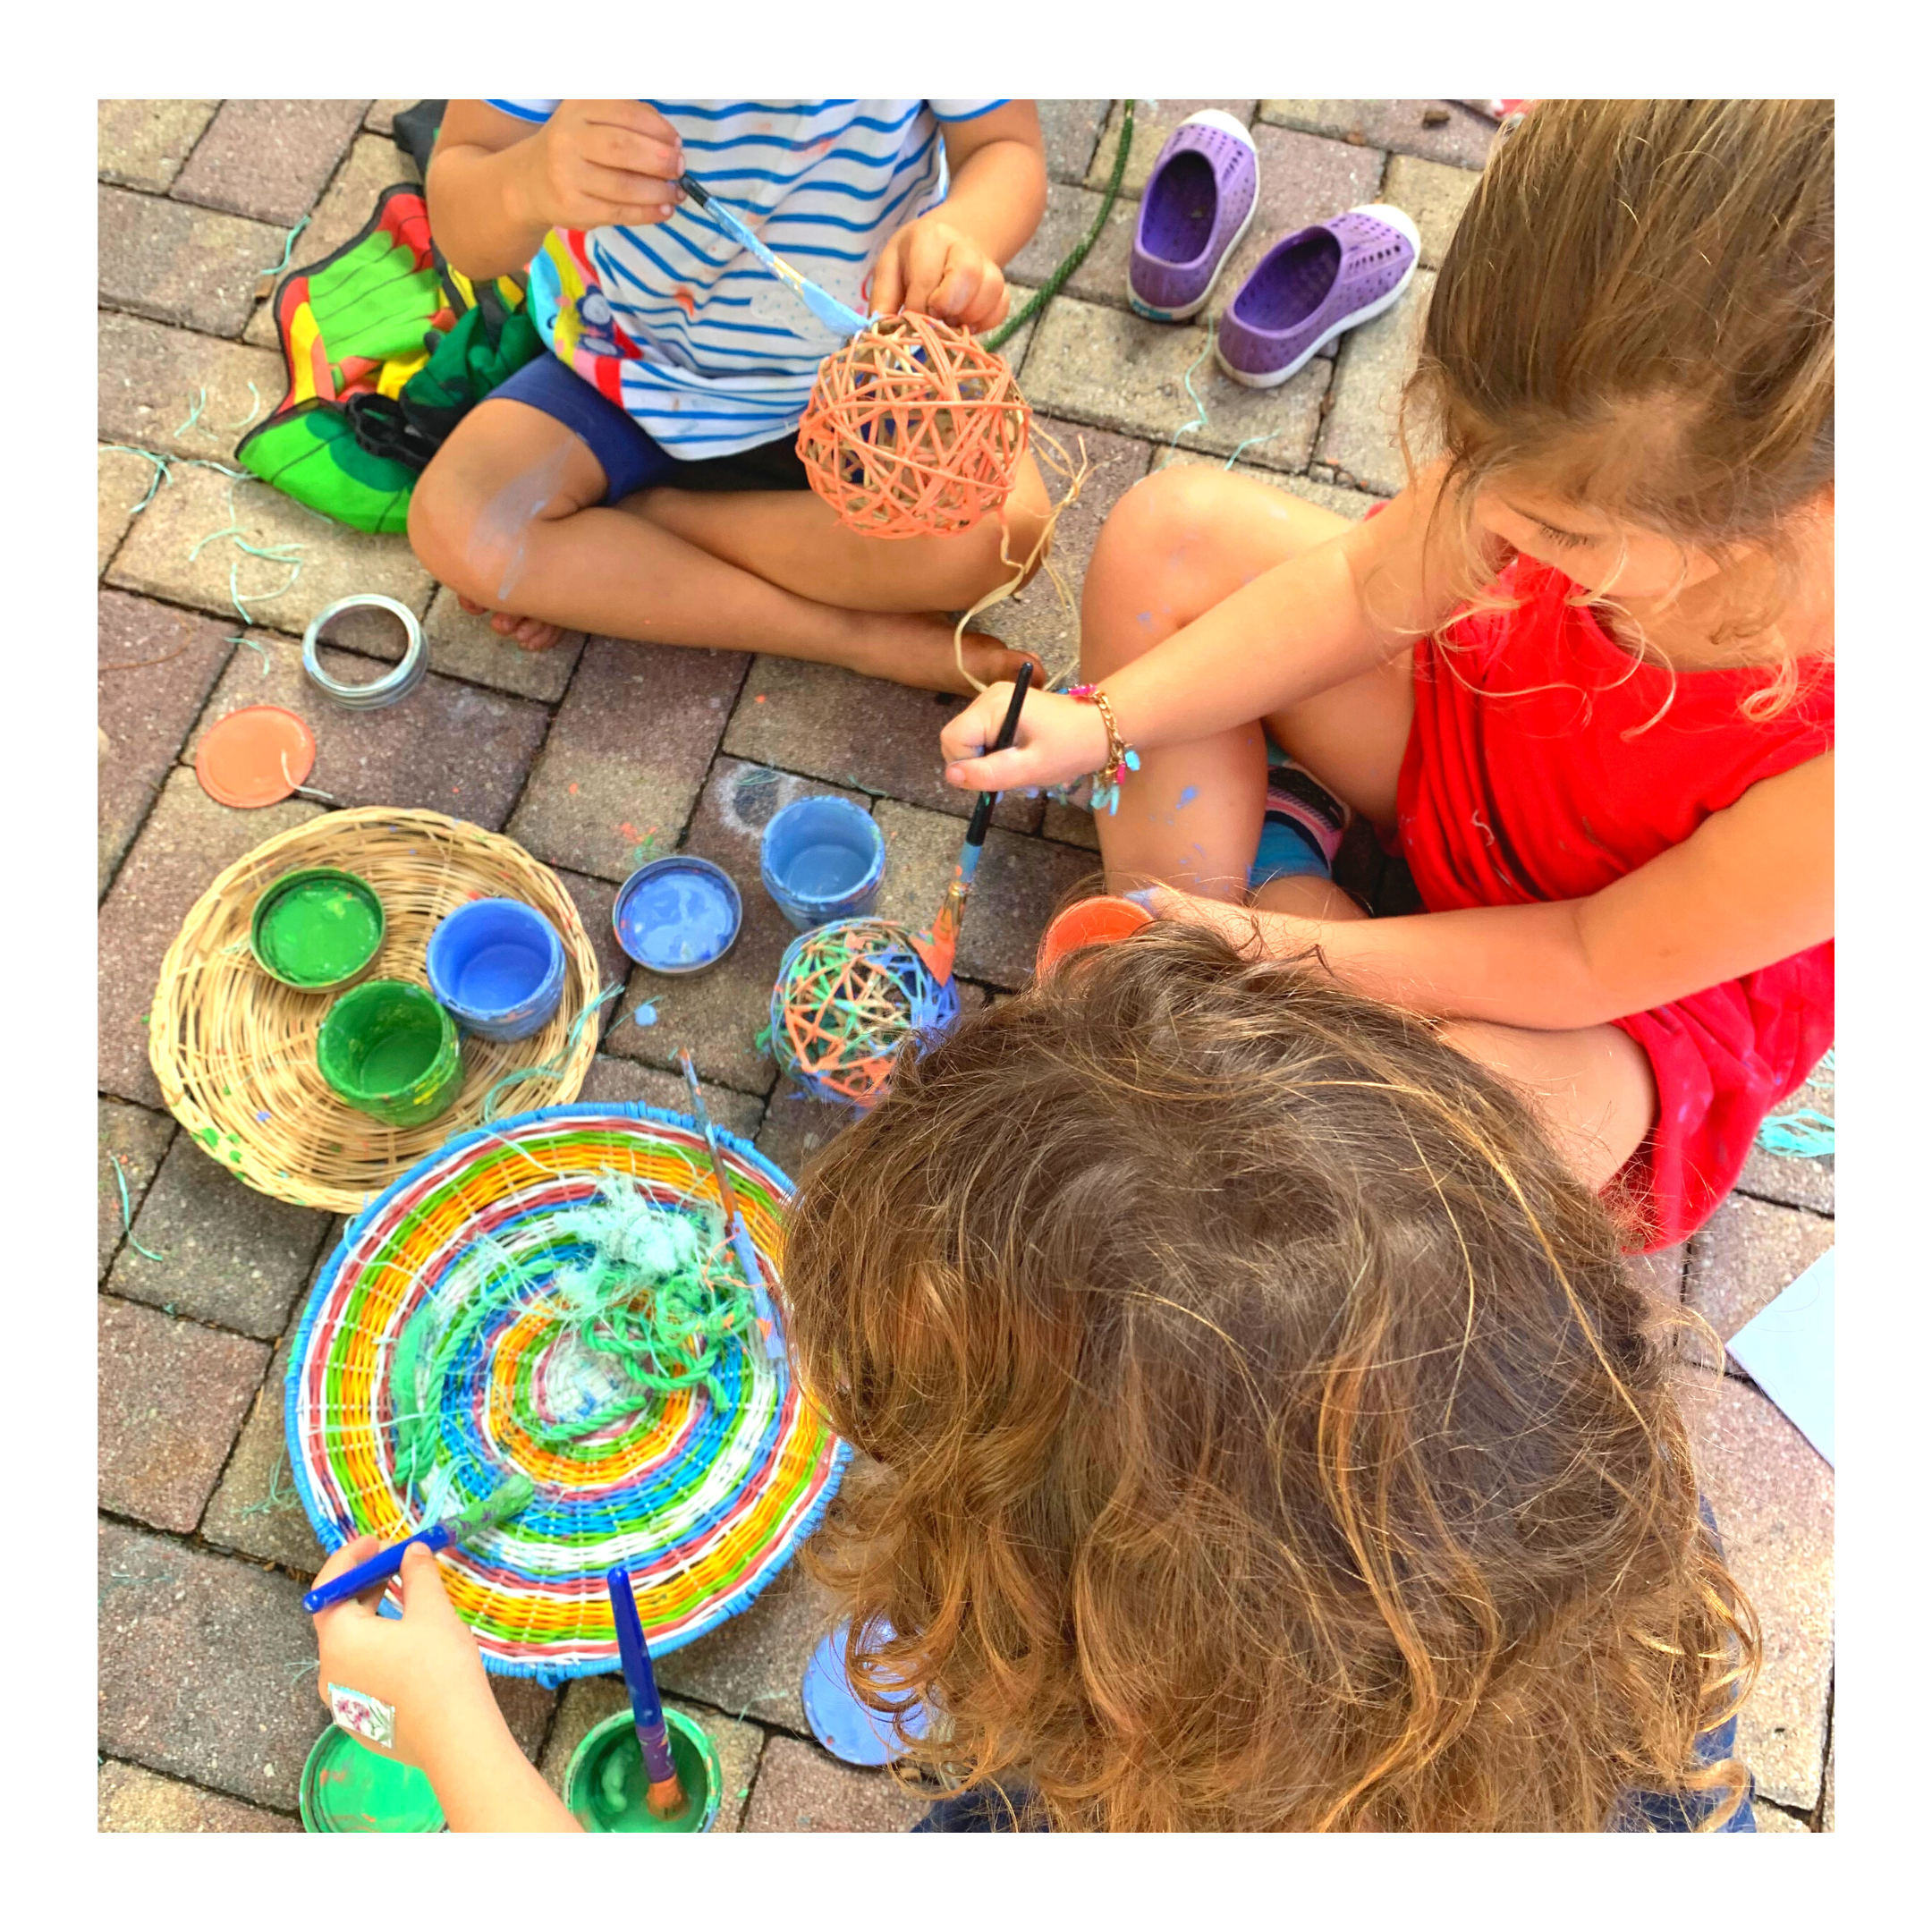
Join us for an extraordinary art exhibition that combines the creativity of youth with the urgent message of environmental consciousness.
Inviting the South Florida community to celebrate the work of teen environmental artists, final Art Show and experience a series of fun activities.
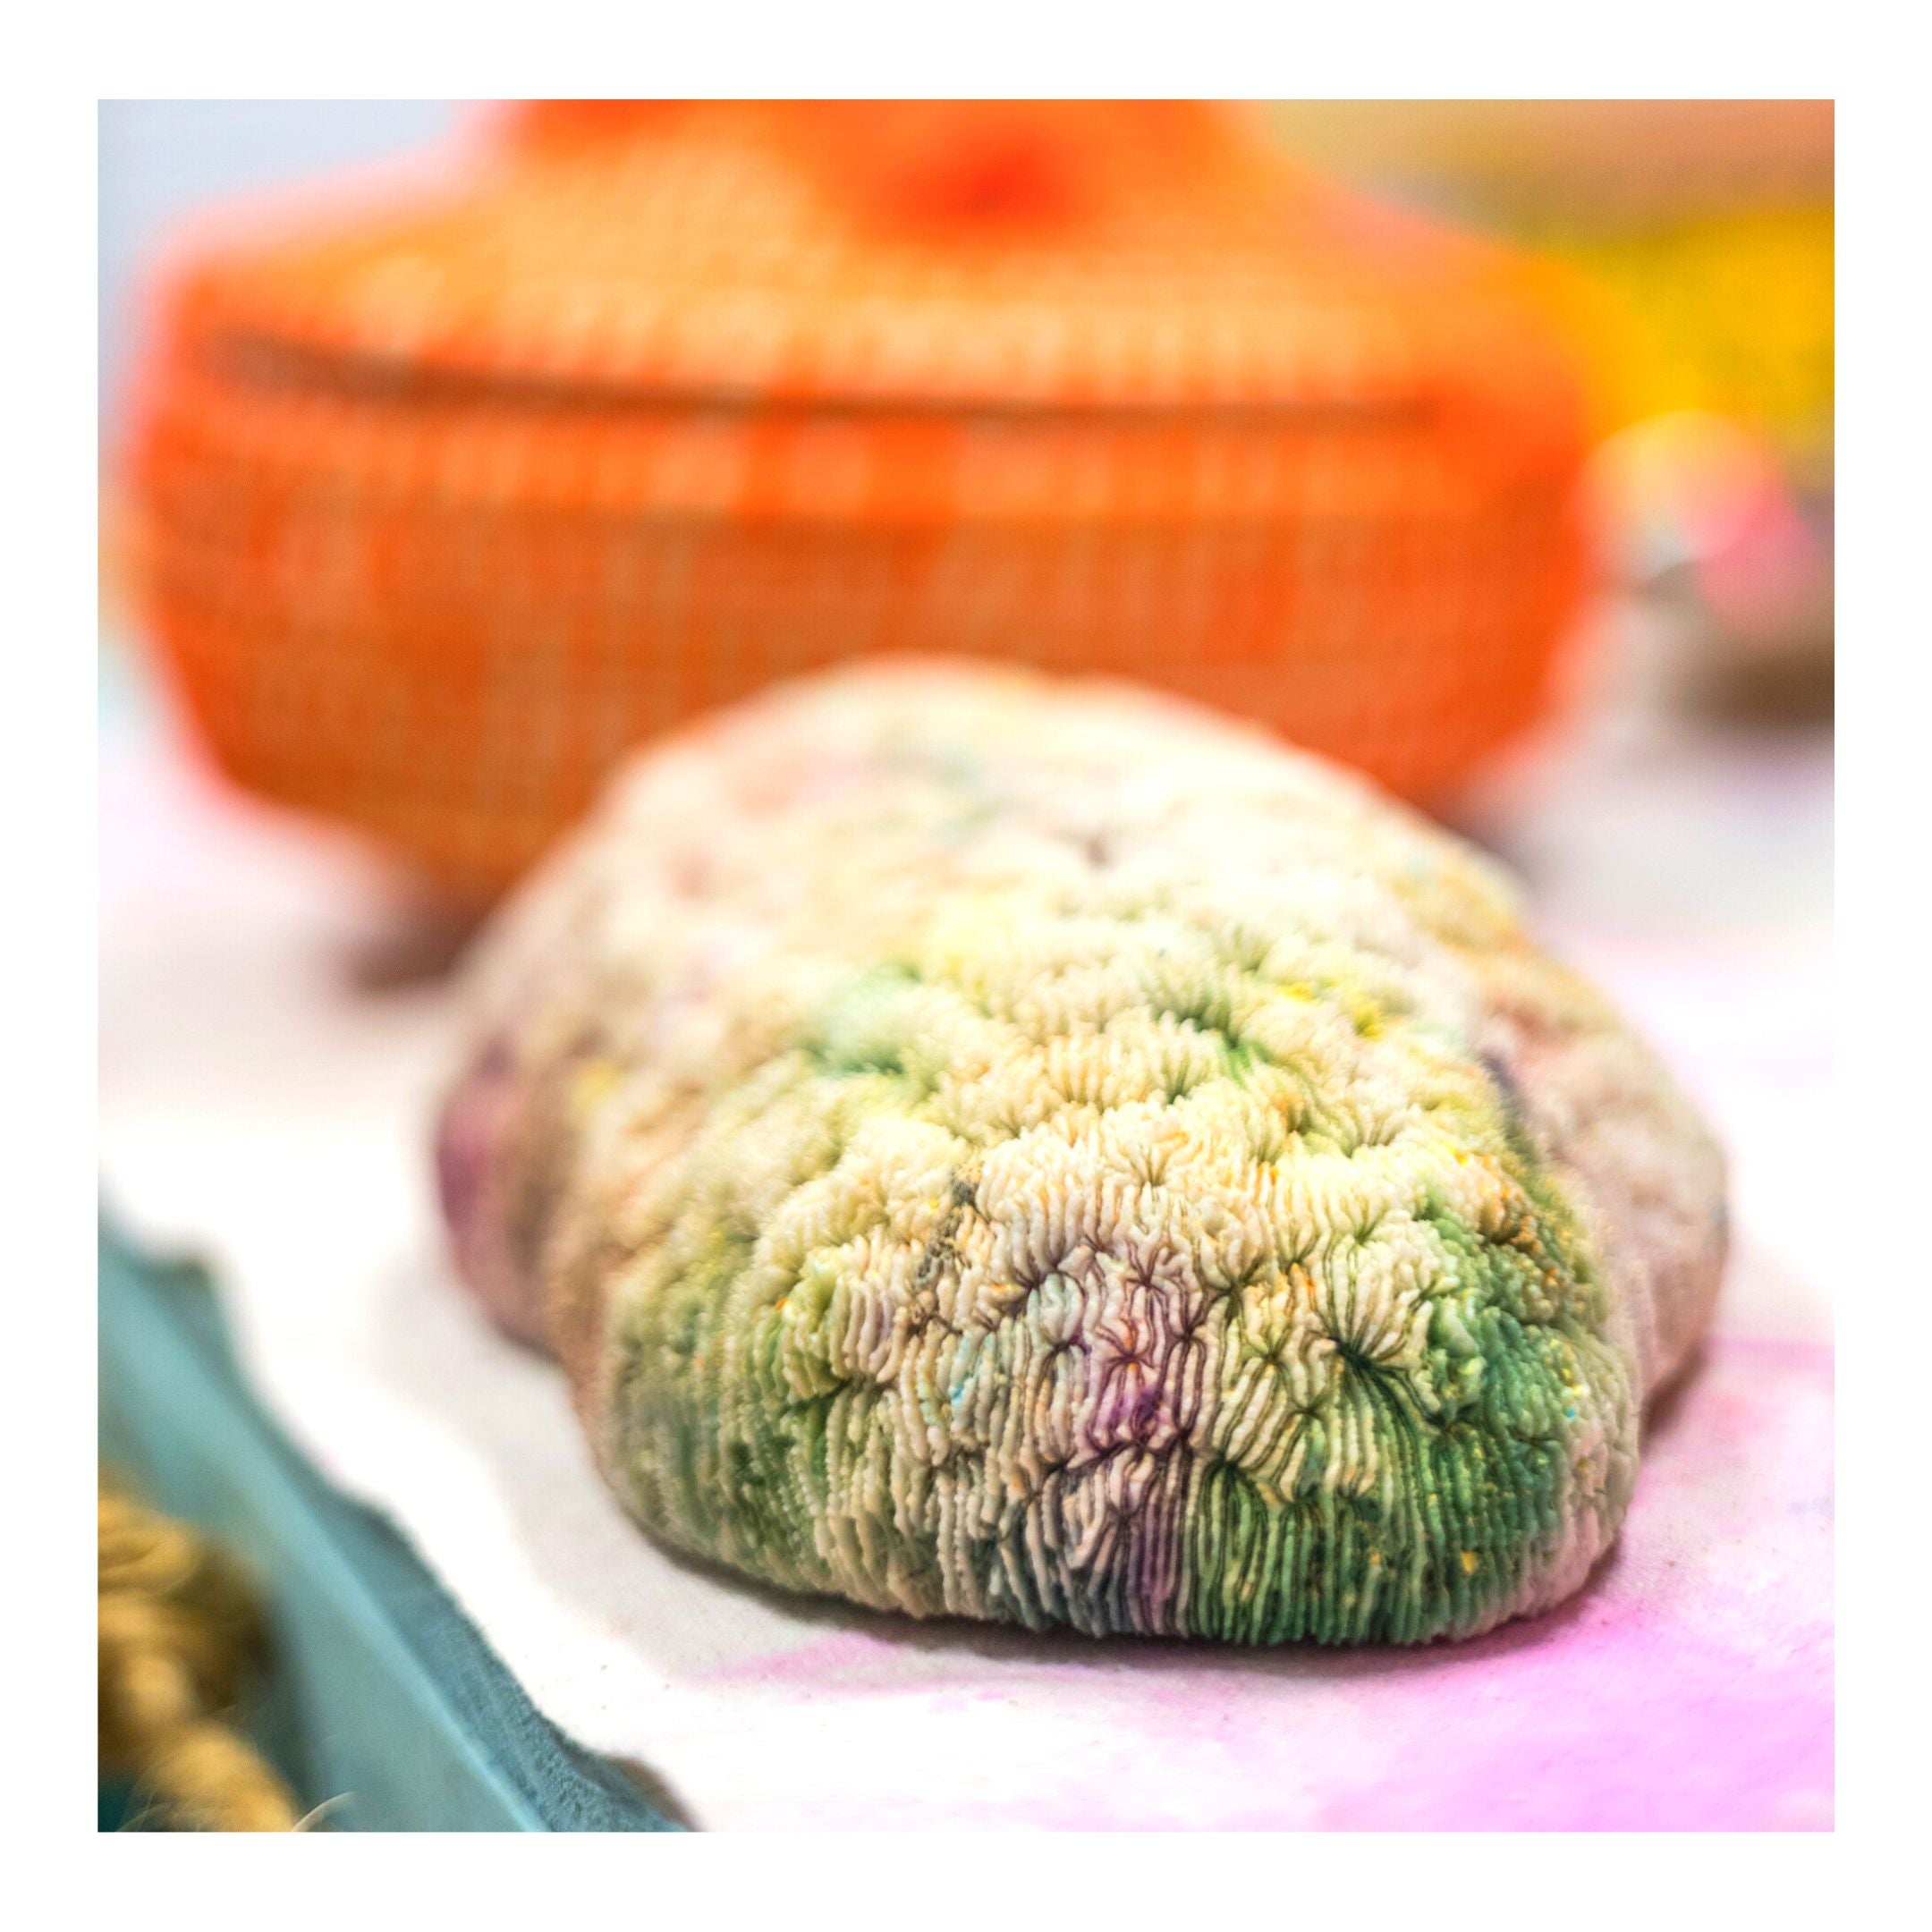
Be part of a live art-advocacy project put on by our students and the unveiling of their "Coral Play House". Students and families are encouraged to attend, meet our environmental teen artists, learn about their creative journey and enjoy a morning of our activities.
Our innovative art show is set to captivate audiences with its inspiring and thought-provoking "Coral Playhouse" pushing the boundaries of both art and activism.
OPEN TO All AGES & FAMILIES. ALL ABILITIES WELCOMED
Schedule of Events

TEEN ARTISTS FOR OCEANS SHOW
9:00AM - 10:30AM Community Coral Sculpting Workshop: A coral sculpting session with earth clay led by our environmental teen artists and Lele Art Lab
10:30AM: Coral Site Aerial Drone Photography: Join us for a remarkable event that will celebrate the importance of coral conservation and create a breathtaking aerial drone image that will leave a lasting impact. We will be capturing the magic of our community made - coral reef site from above. You'll have the opportunity to marvel at the collective beauty we've created together and take home your 3D coral sculptures.
11:00AM: CORAL PLAYHOUSE Art Installation: Unveiling of the "reef play house" made and assembled by our environmental teen artists to celebrate coral conservation. Our coral sites are vital ecosystems, supporting a diverse array of marine life and playing a crucial role in maintaining the health of our oceans. The interactive play house invites you to "SEA THE REEF"
Join us for a powerful art experience that captivates all ages and teaches environmental conservation and sustainability.

Explore Ocean Conservation Through Art with the SEA LAB
YOUTH-POWERED OCEAN ARTIVISM: CREATING WAVES OF CHANGE
The SEA LAB is designed for young minds to become environmental champions and change-makers, in honor of the big blue planet. The perfect incubator space for creativity, collaborative problem-solving, digital competence, and career related learning, united in one inspiring space. We aim to help them transform the dialogue on environmental sustainability.
Uncovering a new science identity through the arts
Students create purpose-driven, environmental, public, educational artworks to inspire both peers and community to engage in better care of the blue planet.

Learn more on the SEA LAB, here.
4.0’s 2022 Tiny Fellows - Pilot Program
Thanks to 4PT Tiny Fellowship we were able to take our pop up art lab on the road! Learners became young artists, developed as positive change-makers, and found their personal connection to the blue planet.
We could not have done it without the support of the 4PT community. Thank you to all the educators who shared their learning spaces with us!
 \
\
Mobile Push Powered Art Lab
△ pop out tables, custom handle bar made out of wood
△ counter flip top and easy to roll
A mobile street art cart designed to be a traveling art lab. Created from scratch and up-cycled parts. It’s push-powered, earth friendly and with plenty of storage. Most importantly made with zero plastic. It has two built-in collapsible tables and an open countertop for storage.

We reached out to our beloved community and magic happened. Check out our creative adventures, pilot video.

Special thank you to my coach, Alex. Leading an amazing learning center for the DC community. In conjunction, to the awesome insights offered by Justin, who introduced the logic model template, that furthered my vision.
I'm happy to now be a 4.0 alum and join their community of nearly 2,000+ alumni. I'm excited about what's next.
Thank you to all the educators who shared their learning spaces with us!
National Geographic Educator & Explorer Cohort

FREEBIE: workbook dedicated to leveraging the power of art to unify and inspire young learners to care for the planet.
In collaboration with National Geographic Explorer, Robert Boyd for Educator-Explorer Exchange cohort 2021-2022.

Origins: The Art Lab Journey
Hi! I'm happy you are here. I'm a National Geographic Certified Educator, mom to a kid explorer, and creative at the intersection of art and environmental education.
The Art Lab started with my life as parent. It was observing the creative and colorful outcomes from my everyday life, immersed in child like imagination and watching my son's curiosity grow. Rooted in exploring the environment and finding out ways that would encourage that spark in him and other young minds.
Navigating the world of young learners is never straightforward; education often happens on a screen or behind four walls. I envisioned something different—a studio, more akin to a lab—where science meant to come alive, art was the tool and making engaged the mind. Here, we go beyond to advocate for and raise awareness about the environment. A greener planet and cleaner ocean is our purpose.
The starting point: a push powered, earth - friendly art cart. Yes, made from scratch and all sustainable parts. Once designed and built it brought upon infinite possibilities and here we are.
The focus: art as a language of exploration. The result, a space where science learning transforms into environmental action. A unique way to have art meet science - and where learners of all abilities get to build, design and explore with a purpose.

We utilize simple tools: upcycled parts, found objects, and everyday items like cardboard boxes, newspaper, and fabric scraps to convey narratives that promote environmental stewardship and community well-being.
Some fun facts about me:
1. I love all things creative - making, building and design. I enjoy volunteering for local environmental projects and often take every opportunity to be outdoors.
2. For over a decade, my focus has been on supporting purpose-driven organizations, building grass roots programs with a community focus, applying design strategy and international policies.
3. I’m passionate about finding innovative ways to create positive action for our oceans.
4. New York City was home for many years. South Florida called me back to the Tropics to enjoy the year around sunshine.
5. I’m fluent in four languages and grew up in two worlds... immersed in the beautiful tropical spirit of Colombia and the diversity of Queens and Miami. I've also called five different cities my home and speak Spanish, Italian and Portuguêse.
Thank you for stopping by! I'm happy to connect here.
Colorful Cloud Art
Ever seen those cool-looking rainbow clouds? If you live in South Florida, you probably have. The crystal like colors beaming from behind the puffy white clouds is incredible. It's like watching cotton candy hues spread across the sky.
I recently learned it is called, cloud iridescence. According to NOAA colors come through the layers of thin clouds and since they are charged with water droplets, the sun's ray give it that rainbow color.
We hope to learn more about the science behind it, but for now we wanted to recreate it with watercolor magic. Give it a try, you will be surprised by how much your little one will enjoy it!
Colorful Cloud Art

Time: 20 minutes Ages: Toddlers + Difficulty: Easy
Supply List
- Mat Board (best to work with cardstock)
- Water Colors (using food coloring can do the trick)
- Paint brush
- Small piece of a tree branch/stick
- Glue
- Eye Dropper
- Stick
- Cotton balls
- Twine ( we used twisted rope found from our beach clean up work)

Step 1:
Set up a couple of jars with different water colors. Can always choose the intensity of the color you want by adding couple more drops. Place the eye dropper close by and have child practice using it.

Step 2:
Bring out the cotton balls and glue. Start to glue the cotton balls to the mat board. Have child take the eye dropper, select a color and ask them to color each of the cotton balls, drop by drop. Definitely a great fine motor skills activity.

Step 3:
Set aside the board with the cotton balls and begin to paint your stick. Remember to add a couple of coats, that helps for the color to be brighter. Use temperas or acrylics, either one is fine.

Step 4:
Cut out the cloud form, punch a hole through the top and run twine through it and tie it to the colorful branch.

It's the perfect cloud to hang on your door.
PROMPTS TO HELP YOU FURTHER ENGAGE IN THE ACTIVITY:
- Tell me about your cloud. What makes it so special?
- I can't wait for it to rain and have a look at the clouds.
- What colors did you use? Can you find these same colors in nature?
Please tag me in your creations on Instagram and FB and use the hashtag #EXPLORERARTLAB to spread the word. We hope you enjoy this activity and thank you for being part of our community to grow "Everyday Creative Explorers".