Recycled Art Challenge
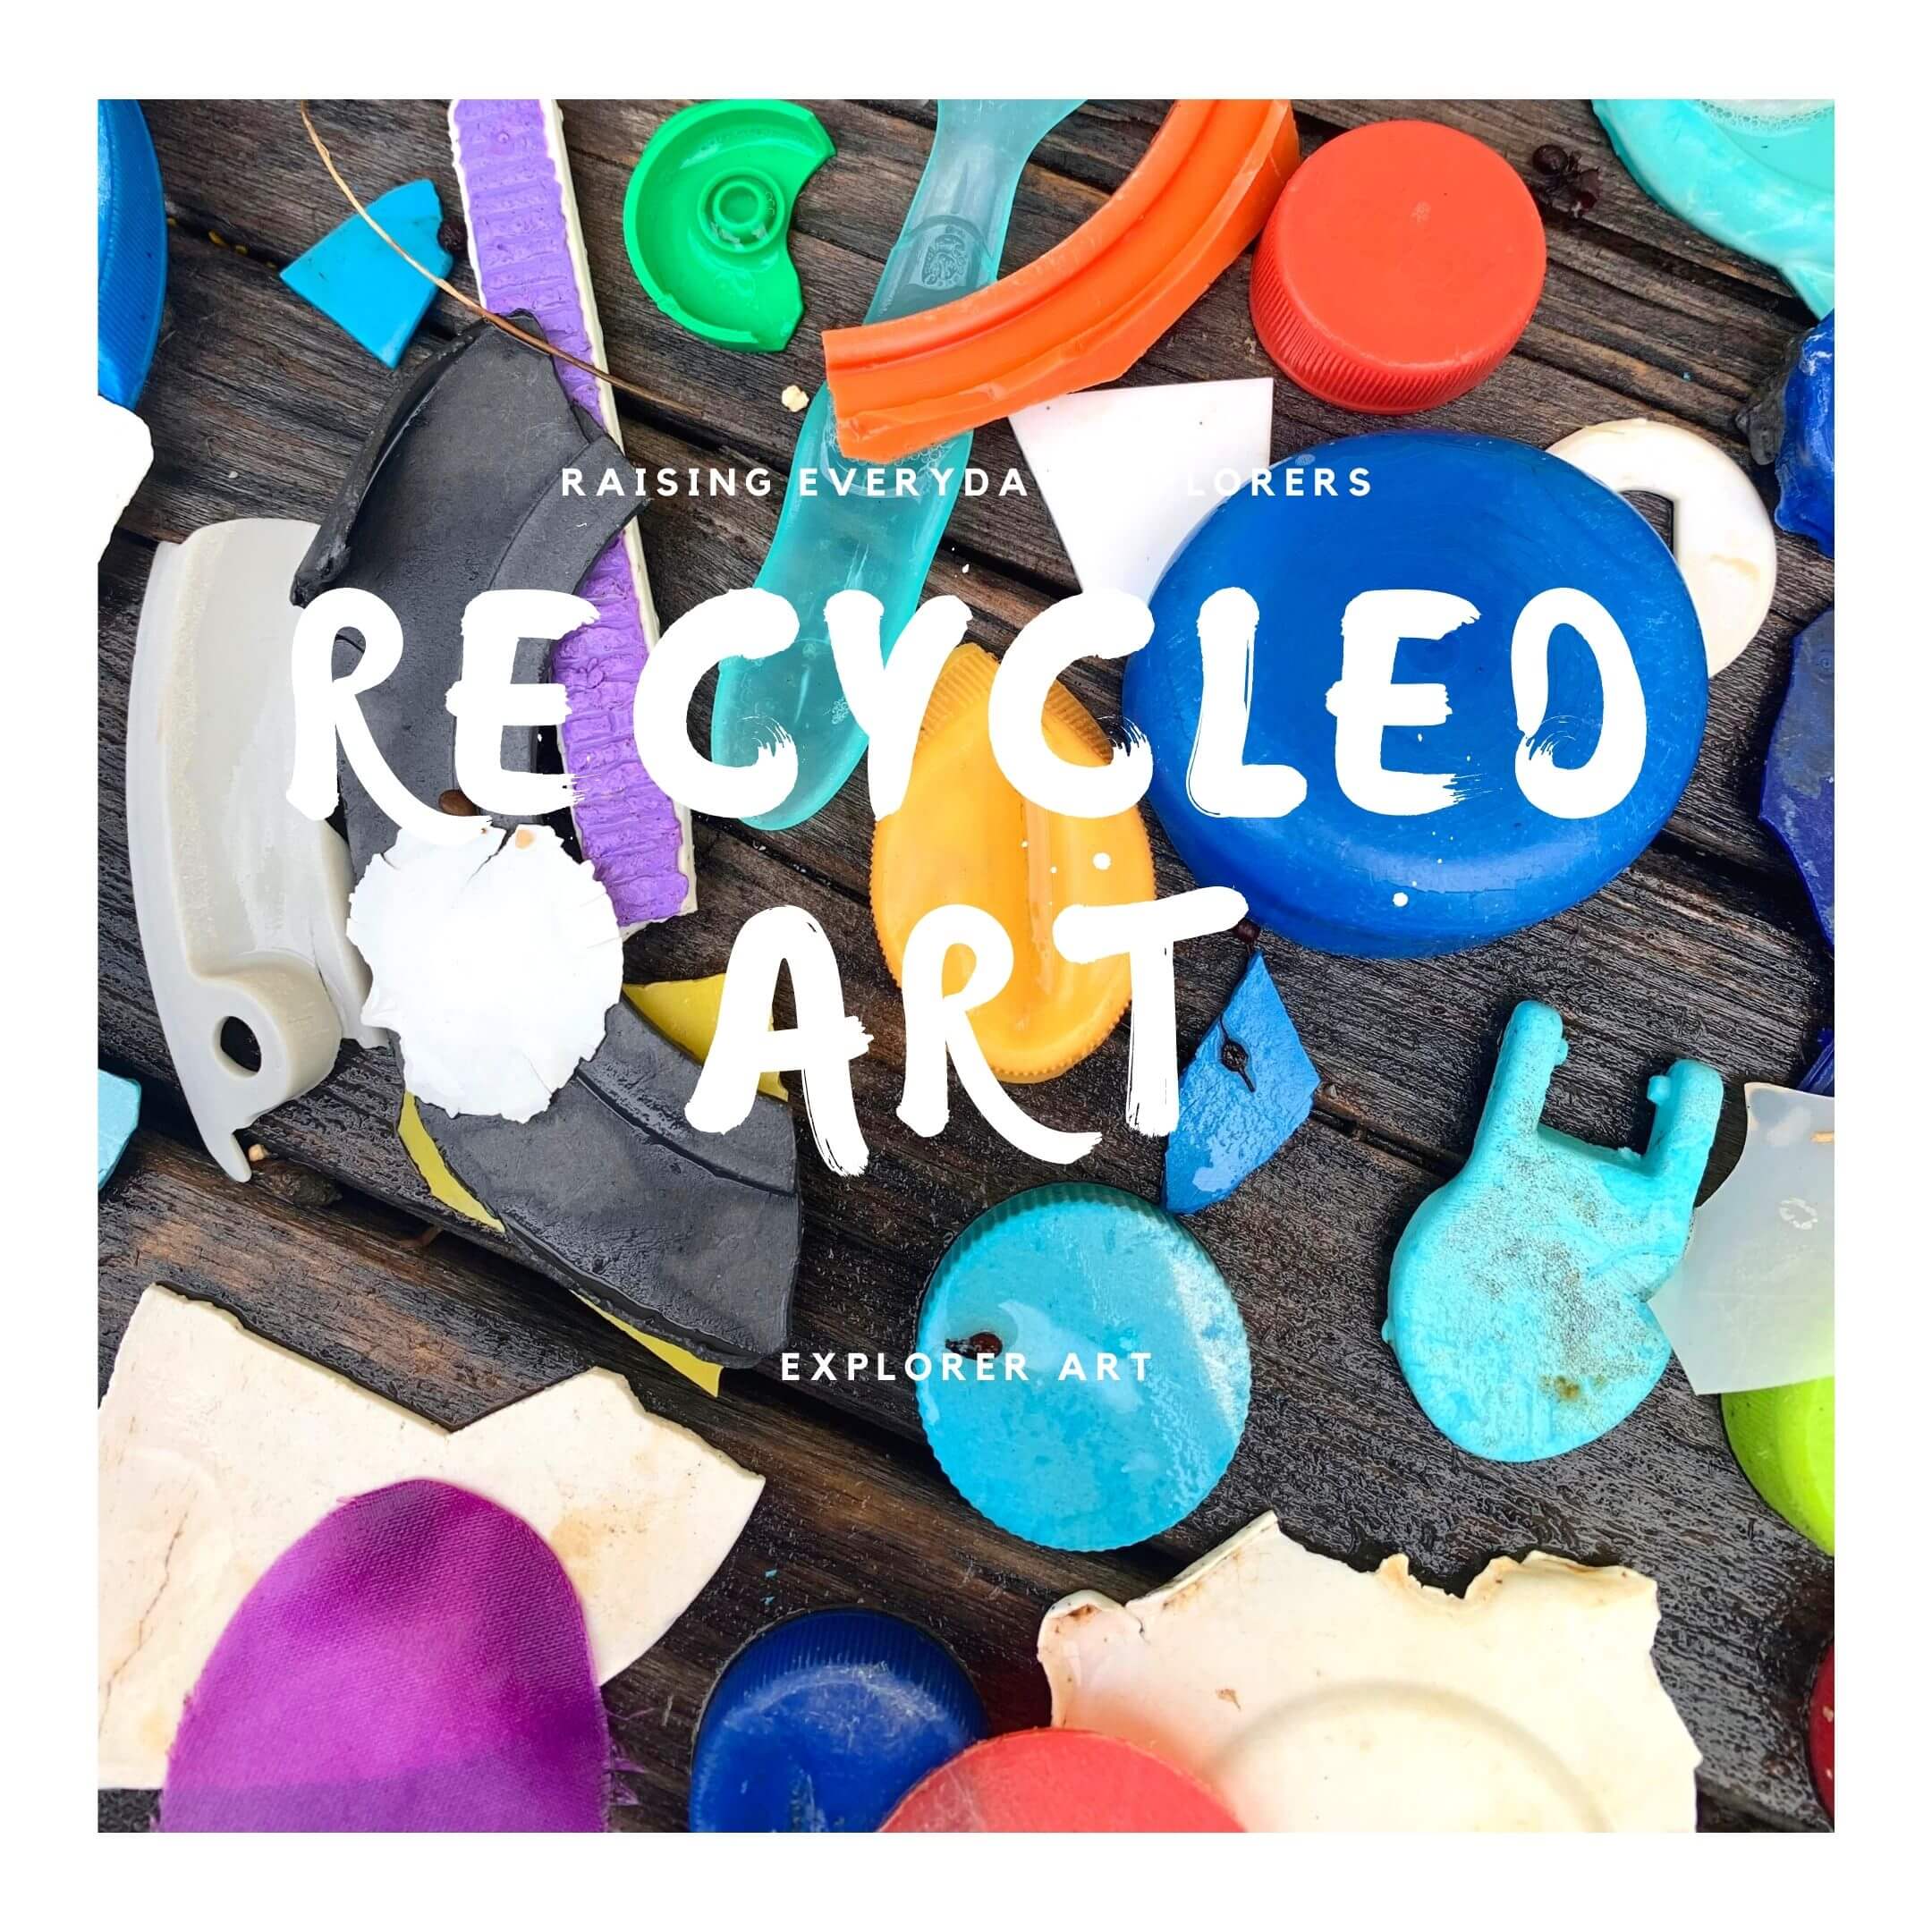
When Save the Manatee Club put out a call for manatee inspired art, I knew we had to participate. What made it an even better challenge was the fact the materials had to be "found objects."
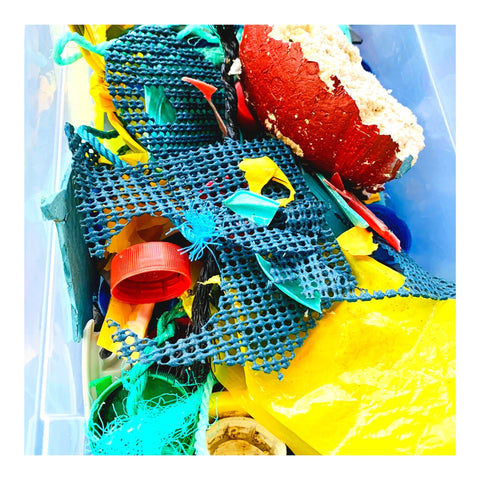
There was not much planning involved as far as materials since all we had to do was sort through the plastic we had picked up on our beach walk. We then prep it. Washed, scrubbed and rinsed.
Our little artist was excited to search through the many bottle caps to find the right one to use. I figured from all the random pieces we had, some sort of theme would come up. The best hidden piece from our two pound trash bag was a piece of standard barricade tape. It was long enough to read the letters CAU, short for the word "CAUTION."
Here is our piece, we were super excited when we got done and we placed 2nd in the overall contest!

We hope this will be the start of many more marine debris projects. Hopefully, you can find ways to get creative with recycled goods. Sharing couple of shots from our project below, thanks for reading!

Setting out our pieces, construction paper, rough outline, and a good amount of glue.
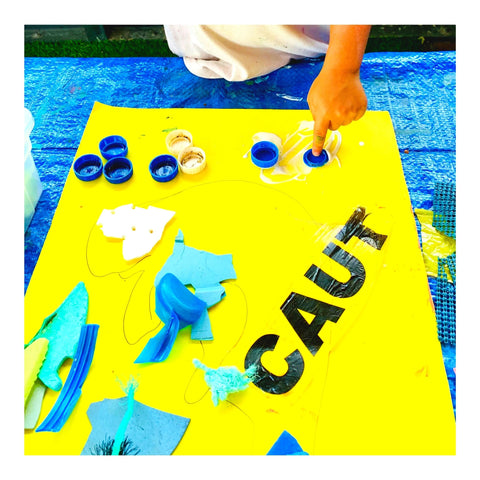
Always a plus when you let kids discover. They often gravitate to colors they themselves recognize in nature.

Marine Debris from North Ocean Park, FL.

You'd be surprised by the #processart fun that comes from #upcycling.

Learn more about The Save the Manatee Club
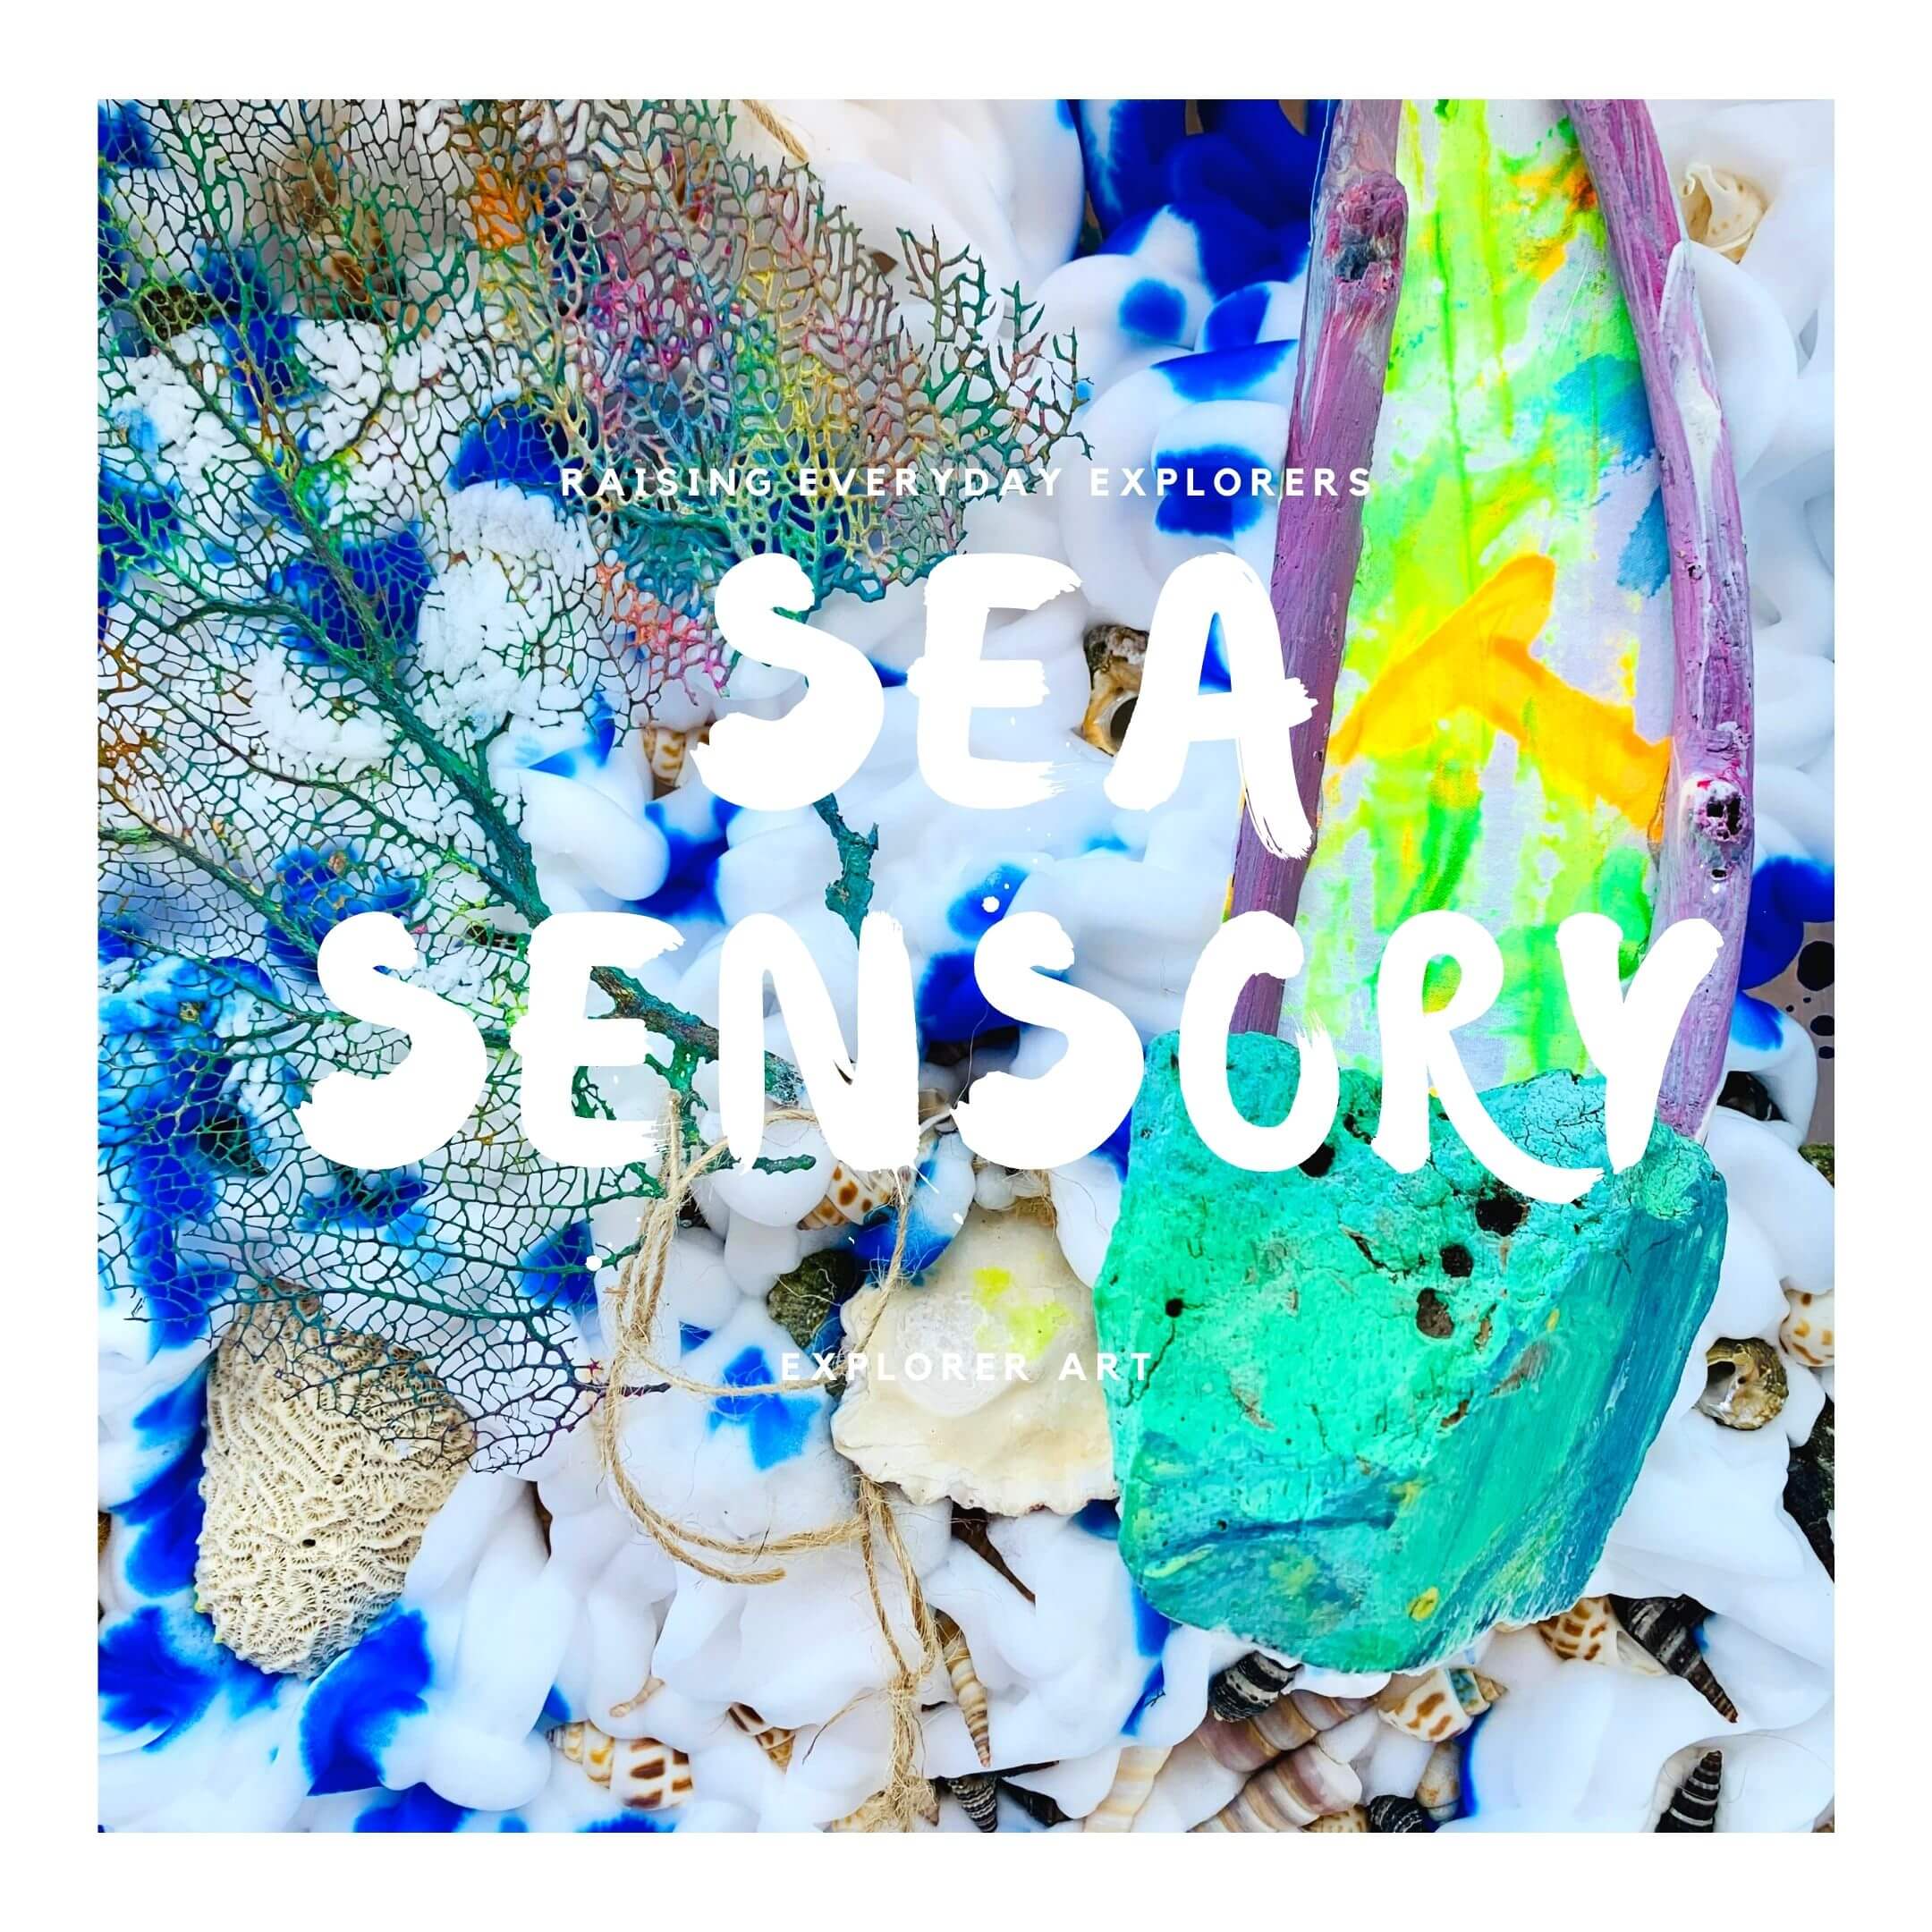
Ocean Sensory Bin
There is no better time to engage and inspire ocean advocates than childhood. Start out by creating under the sea sensory bin. It's an easy set up, recreating sea foam and having young ones search for shells and more.
Ocean Sensory Bin
Supplies
- Long container (any size will do)
- Shells – we collected our from the beach
- A scoop, tea strainers and sponge
- Shaving cream
- Liquid water color (food coloring works as well)
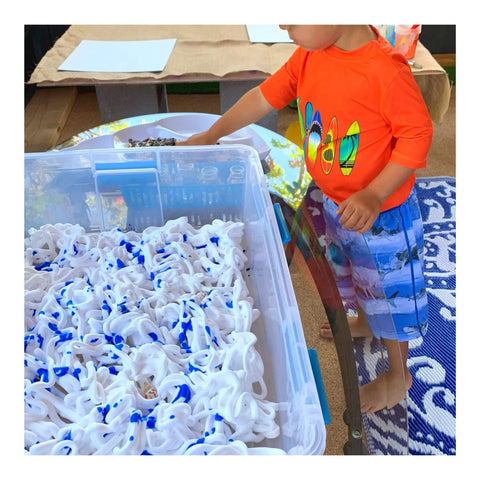
Add sand, water beads, and other ocean-themed objects. We kept it simple and used what we found at the beach.

Through the use of seashells, plant life, and ocean animals, children can learn to identify ocean life as well as engage in dramatic play.

-
What did you find in the ocean?
-
What different things can we find in the ocean?
-
What is your favorite part of going to the beach?
Please tag me in your creations on Instagram and FB and use the hashtag #EXPLORERARTLAB to spread the word. We hope you enjoy this activity and thank you for being part of our community to grow "Everyday Creative Explorers".
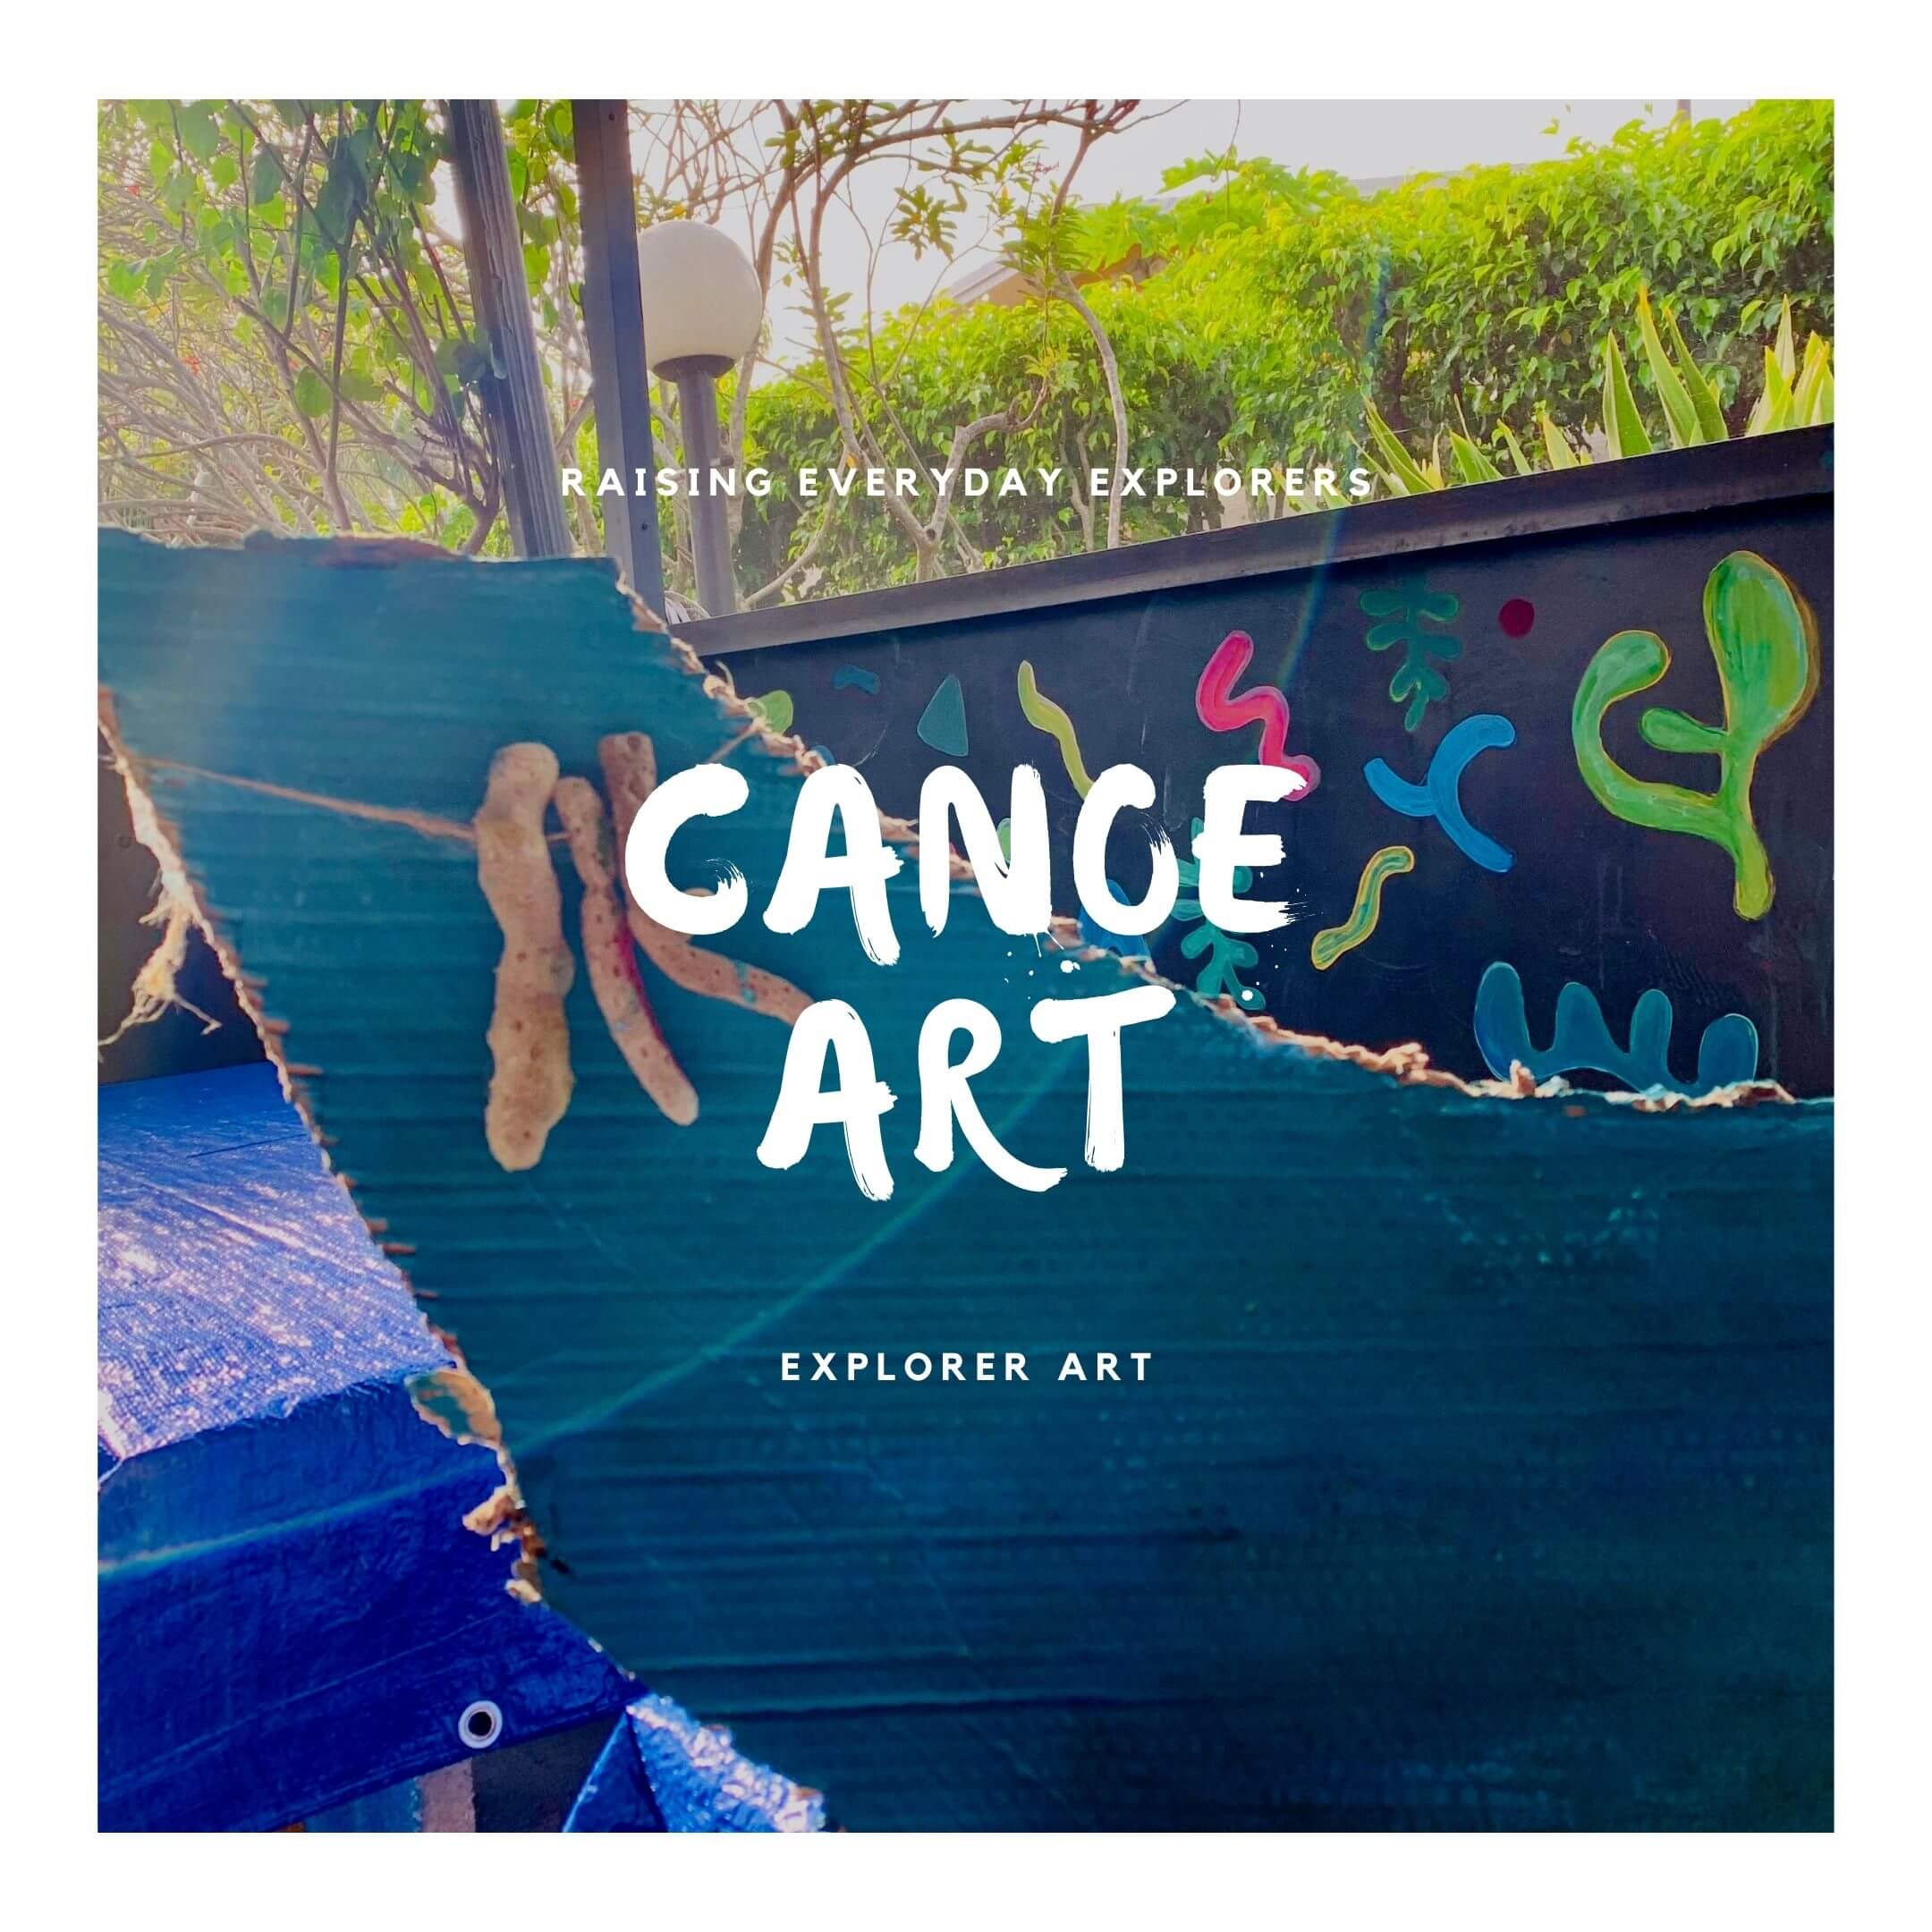
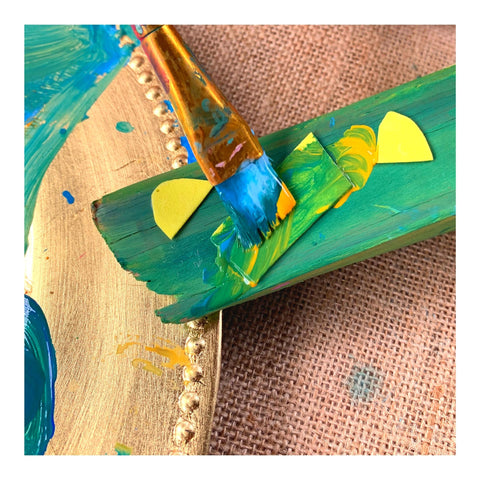
Canoe Art Project
South Florida is best seen in a canoe. There is something about gliding through the water that is calming for my little one and myself. We love canoeing and thought we’d make a magic canoe for our storytelling afternoons.
Check out this canoe invitation to create a process art experience that is a quick project with endless learning magic.
Canoe Art Project

Time: 20 minutes Ages: Toddlers + Difficulty: Easy
Supply List
- Large Cardboard
- Paint (Temperas)
- Container to mix paint
- Twine
- Scissor
- Seashell charms *We used sea sponges
Step 1: Prep Cardboard
Cut out your cardboard canoe. Taking a pencil to sketch it can help guide when cutting.

Step 2: Mix Colors
My son picked out the colors for this project. Toddlers love decision making and my little one was happy to call out his favorite colors. We used blue, yellow and different shades of green.

Use any recycled containers to hold the paint. We used an egg carton and allowed for us to mix the colors right on it.
Step 2: Sea life charms
Start to paint your canoe, we used different size brushes to learn about strokes. You’ll see after a bit you’ll have a favorite go to brush. It’s rather enjoyable to see the paint soak in and colors come to life. Put on the finishing touches with some sea charms.

We had a choice between seashells or sea sponges. (We only have 3 of anything from nature. Meant for our projects, discovery closet or pretend play).

-
Tell me what did you use to make your canoe?
-
Will you go in the ocean with it?
-
I can’t wait to learn about the island you will travel to!
Please tag me in your creations on Instagram and FB and use the hashtag #EXPLORERARTLAB to spread the word. We hope you enjoy this activity and thank you for being part of our community to grow "Everyday Creative Explorers".
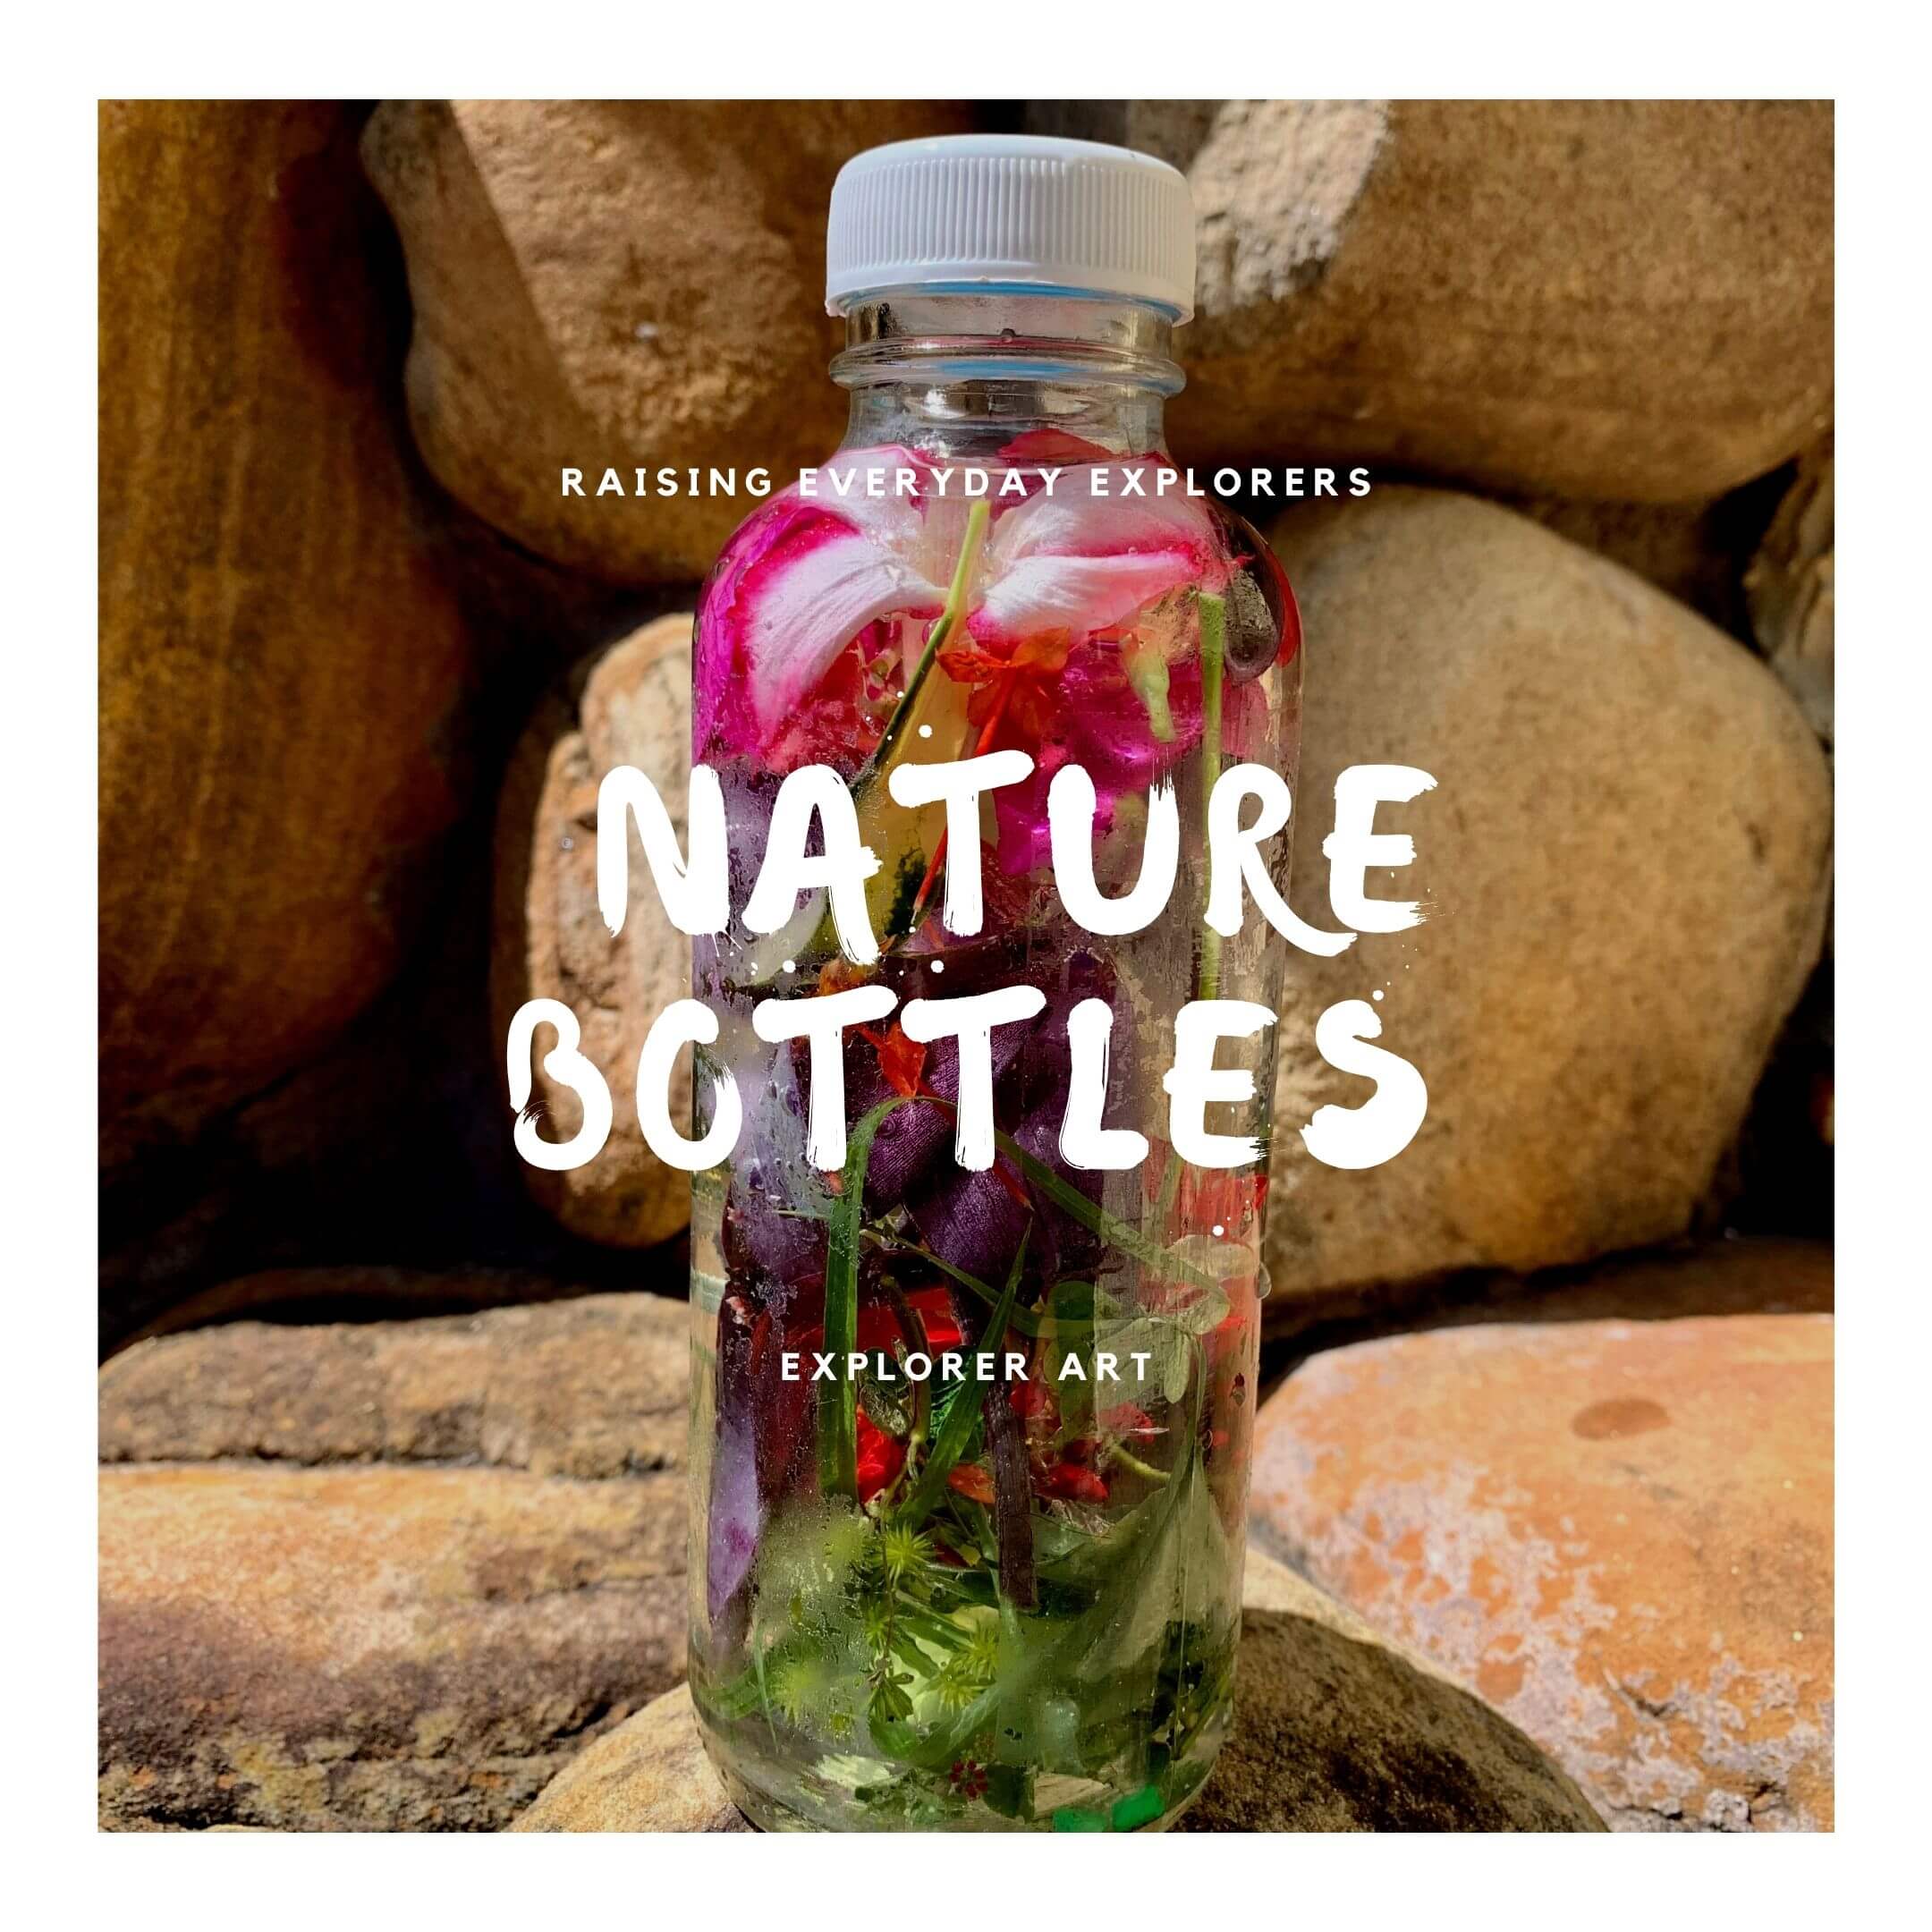
Nature Sensory Bottle
There is no better way to investigate natural materials than to go on a nature walk and end your trip with a fun nature based art project.
Here are steps on how to put together your first nature sensory bottle. Also the perfect project for little learners to explore the world around them.
Nature Inspired Sensory Bottle

Time: 20 minutes Ages: Toddlers + Difficulty: Easy
Supply List
- Glass bottle with lid (Can also use plastic, but we opted for glass for better transparency.)
- Water
- Glue

Kids love hands-on nature time and collecting treasures.
Step 1: Prep bottle
Peel the label off the bottle, rinse well and clean the outer surface.

Go on your nature walk and add the natural specimen found by your little one. Filled the bottle with tap water, and seal it. (Can use glue or tape.) Isn’t it awesome how the bottle magnifies the specimen inside?
In this activity, kids learn how to:
- New discoveries about the natural world.
- Learn about native plants and seasons.
Please tag me in your creations on Instagram and FB and use the hashtag #EXPLORERARTLAB to spread the word. We hope you enjoy this activity and thank you for being part of our community to grow "Everyday Creative Explorers".
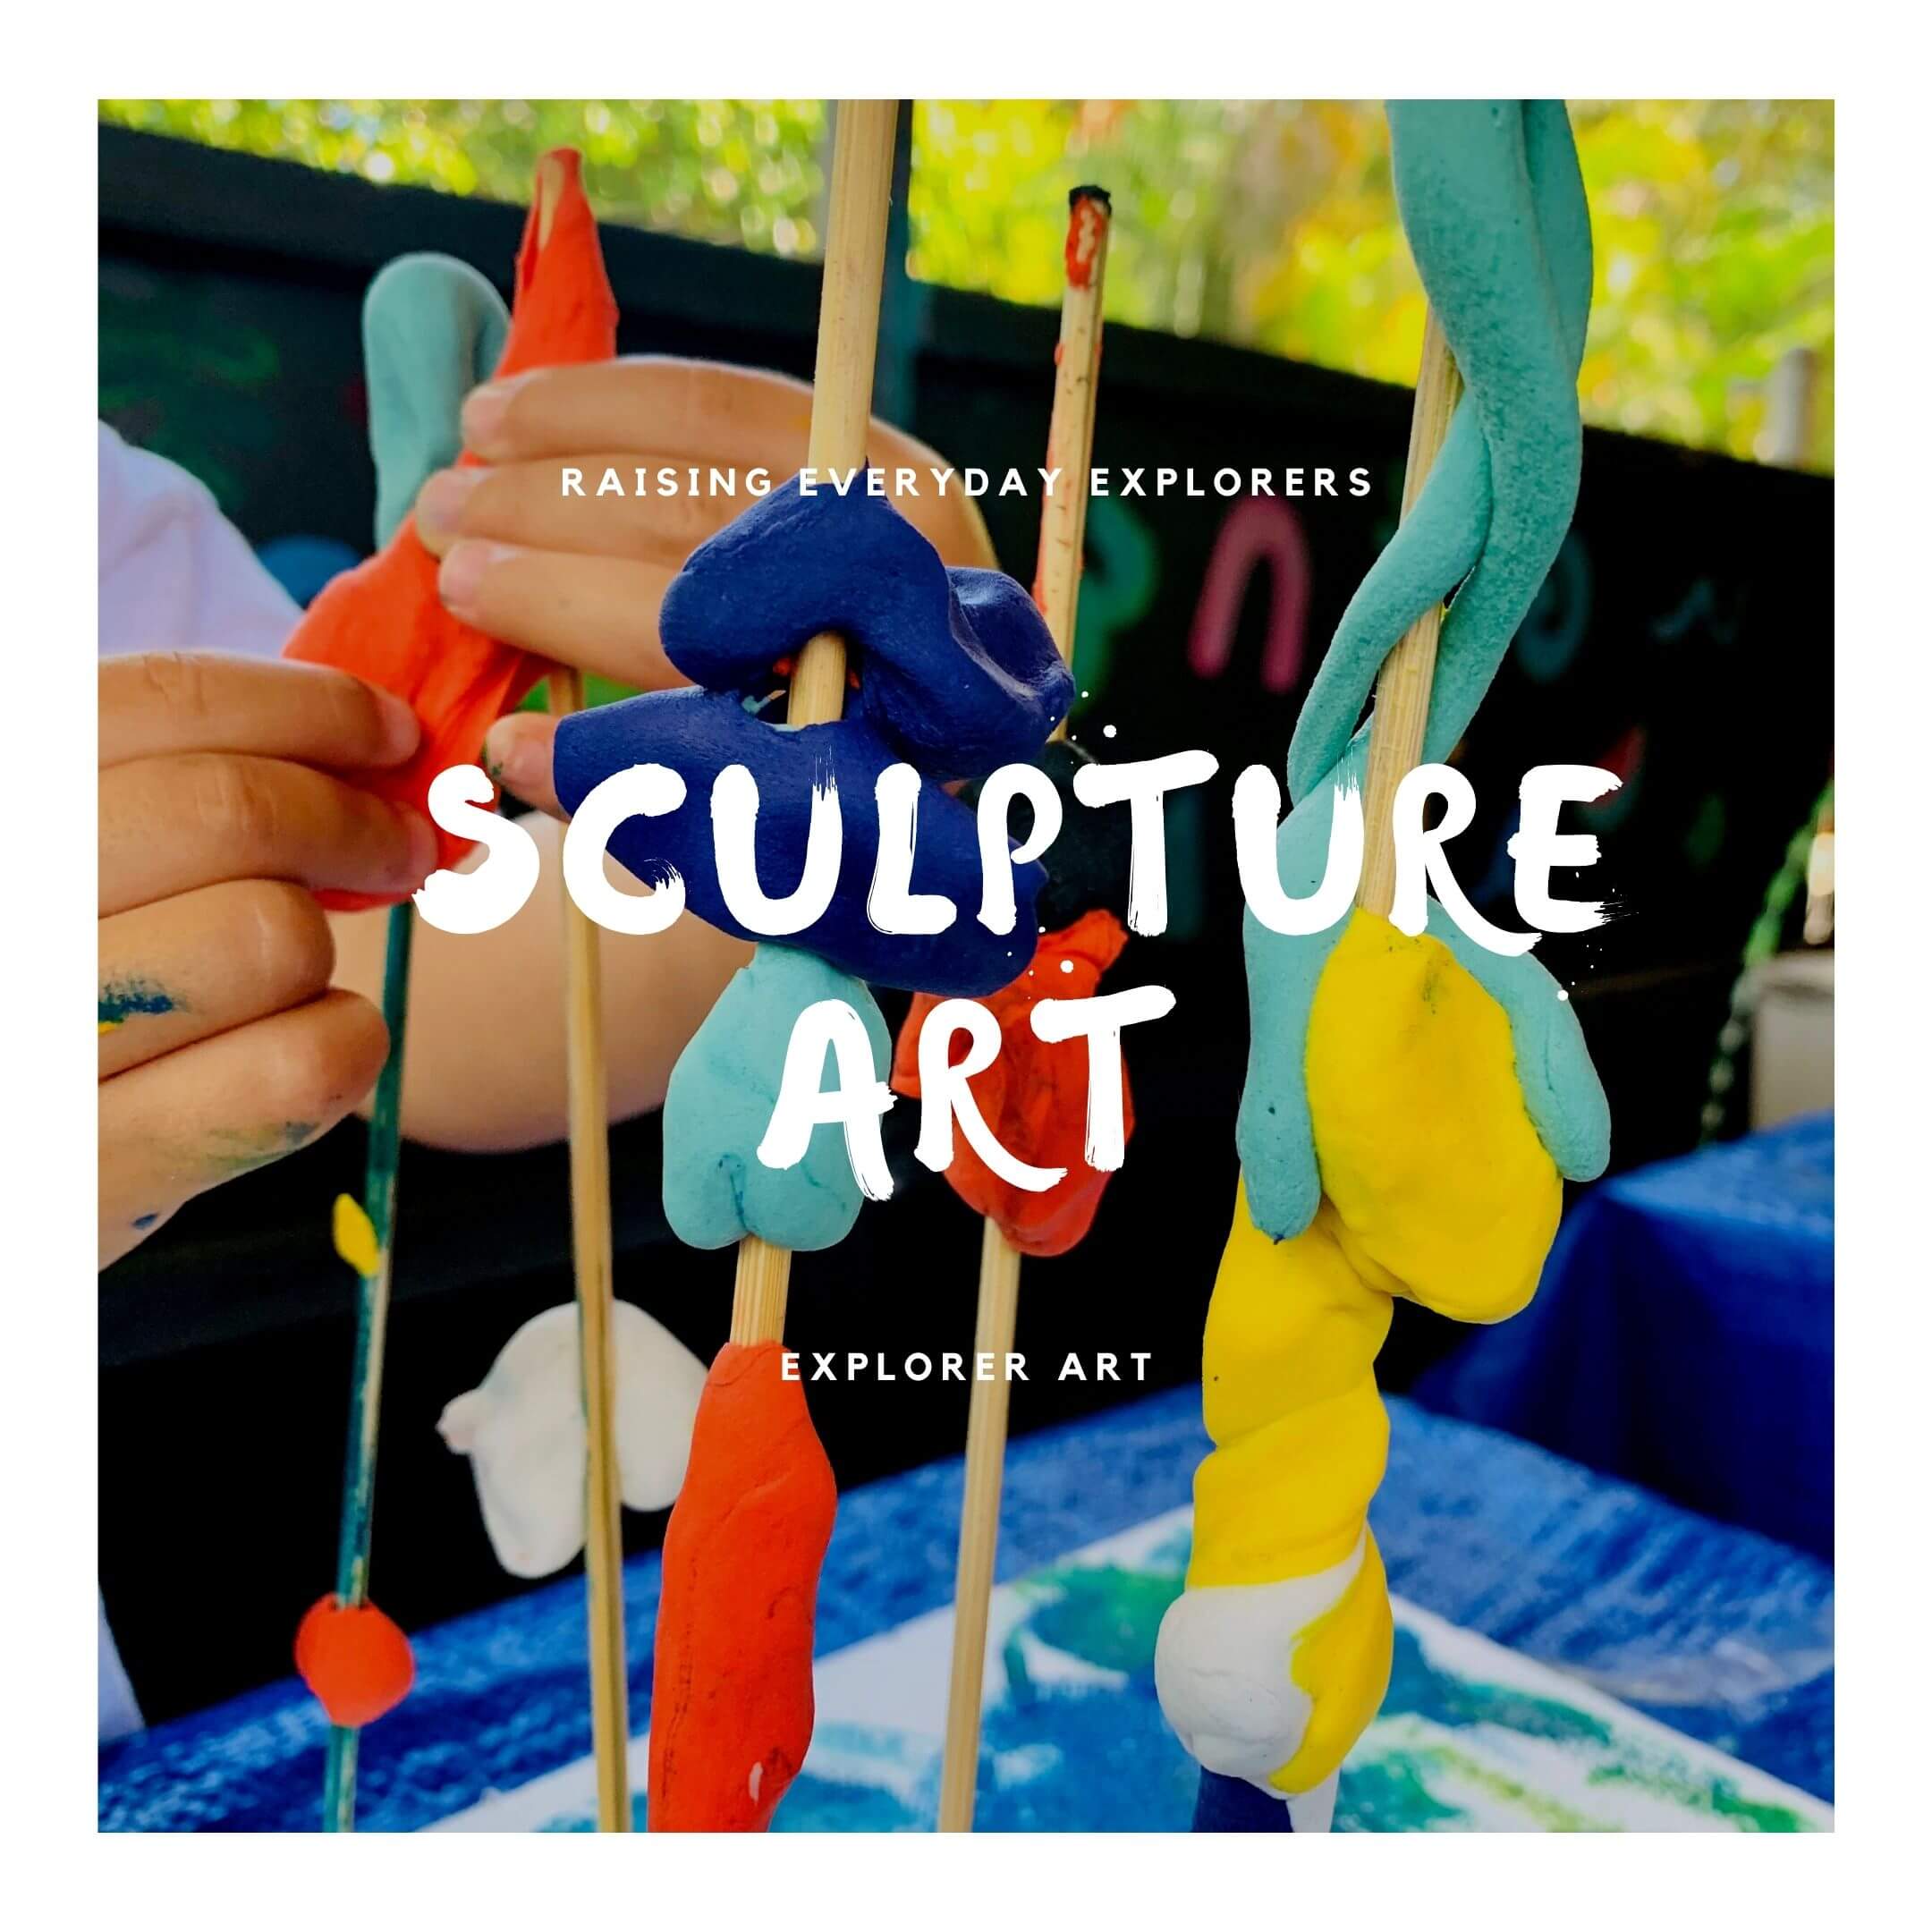
Sculpture Art
Clay working is such an incredibly fun art experience for kids. Plus, the end product is always a cool sculpture piece for your living room.
Here is a very simple activity that can be done with just a few supplies and fit for the attention span of any preschooler. Also the perfect activity to help kids develop fine motor skills, finger strength, and creative expression.

Sculpture Art Project
Time: 20 minutes Ages: Toddlers + Difficulty: Easy
Supply List
-
Modeling Clay Dough
-
Styrofoam (save those from delivery packages)
-
Tempera Paints + Brown Paper Bag
-
Paintbrushes
-
Wooden Skewers

Step 1: Prepping board with some paint
Set up the area with couple paint brushes, block of styrofoam, wooden skewers, modeling clay and paint. Paint the styrofoam board while discussing project. We used tempera paint, just enough to get our inspiration going.


Step 2: Squish, squeeze, shape, and sculpt inspired by imagination!
Select a couple of wooden skewers, have child pick one and carefully place onto the styrofoam. They love the feeling of the pointy end moving through the board. All set for the fun to begin.

Step 3: Sculpture Art
My almost three year old son was totally wrapped into this activity. He loved punching the holes, rolling the clay and the mushy feeling of clay between his hands. Placing the wooden skewers onto the foam board helps for stability and gets them to work vertically. Offering a new perspective.

Watch them play and grow their imagination.

In this activity, kids learn how to:
- Develop fine motor skills, color recognition and creative expression.
-
Shape clay into different shapes and if they need a little nudge, explain how vines naturally grow on tress. This will get them to naturally work upwards.

These are the coolest art sculptures!

Please tag me in your creations on Instagram and FB and use the hashtag #EXPLORERARTLAB to spread the word. We hope you enjoy this activity and thank you for being part of our community to grow "Everyday Creative Explorers".

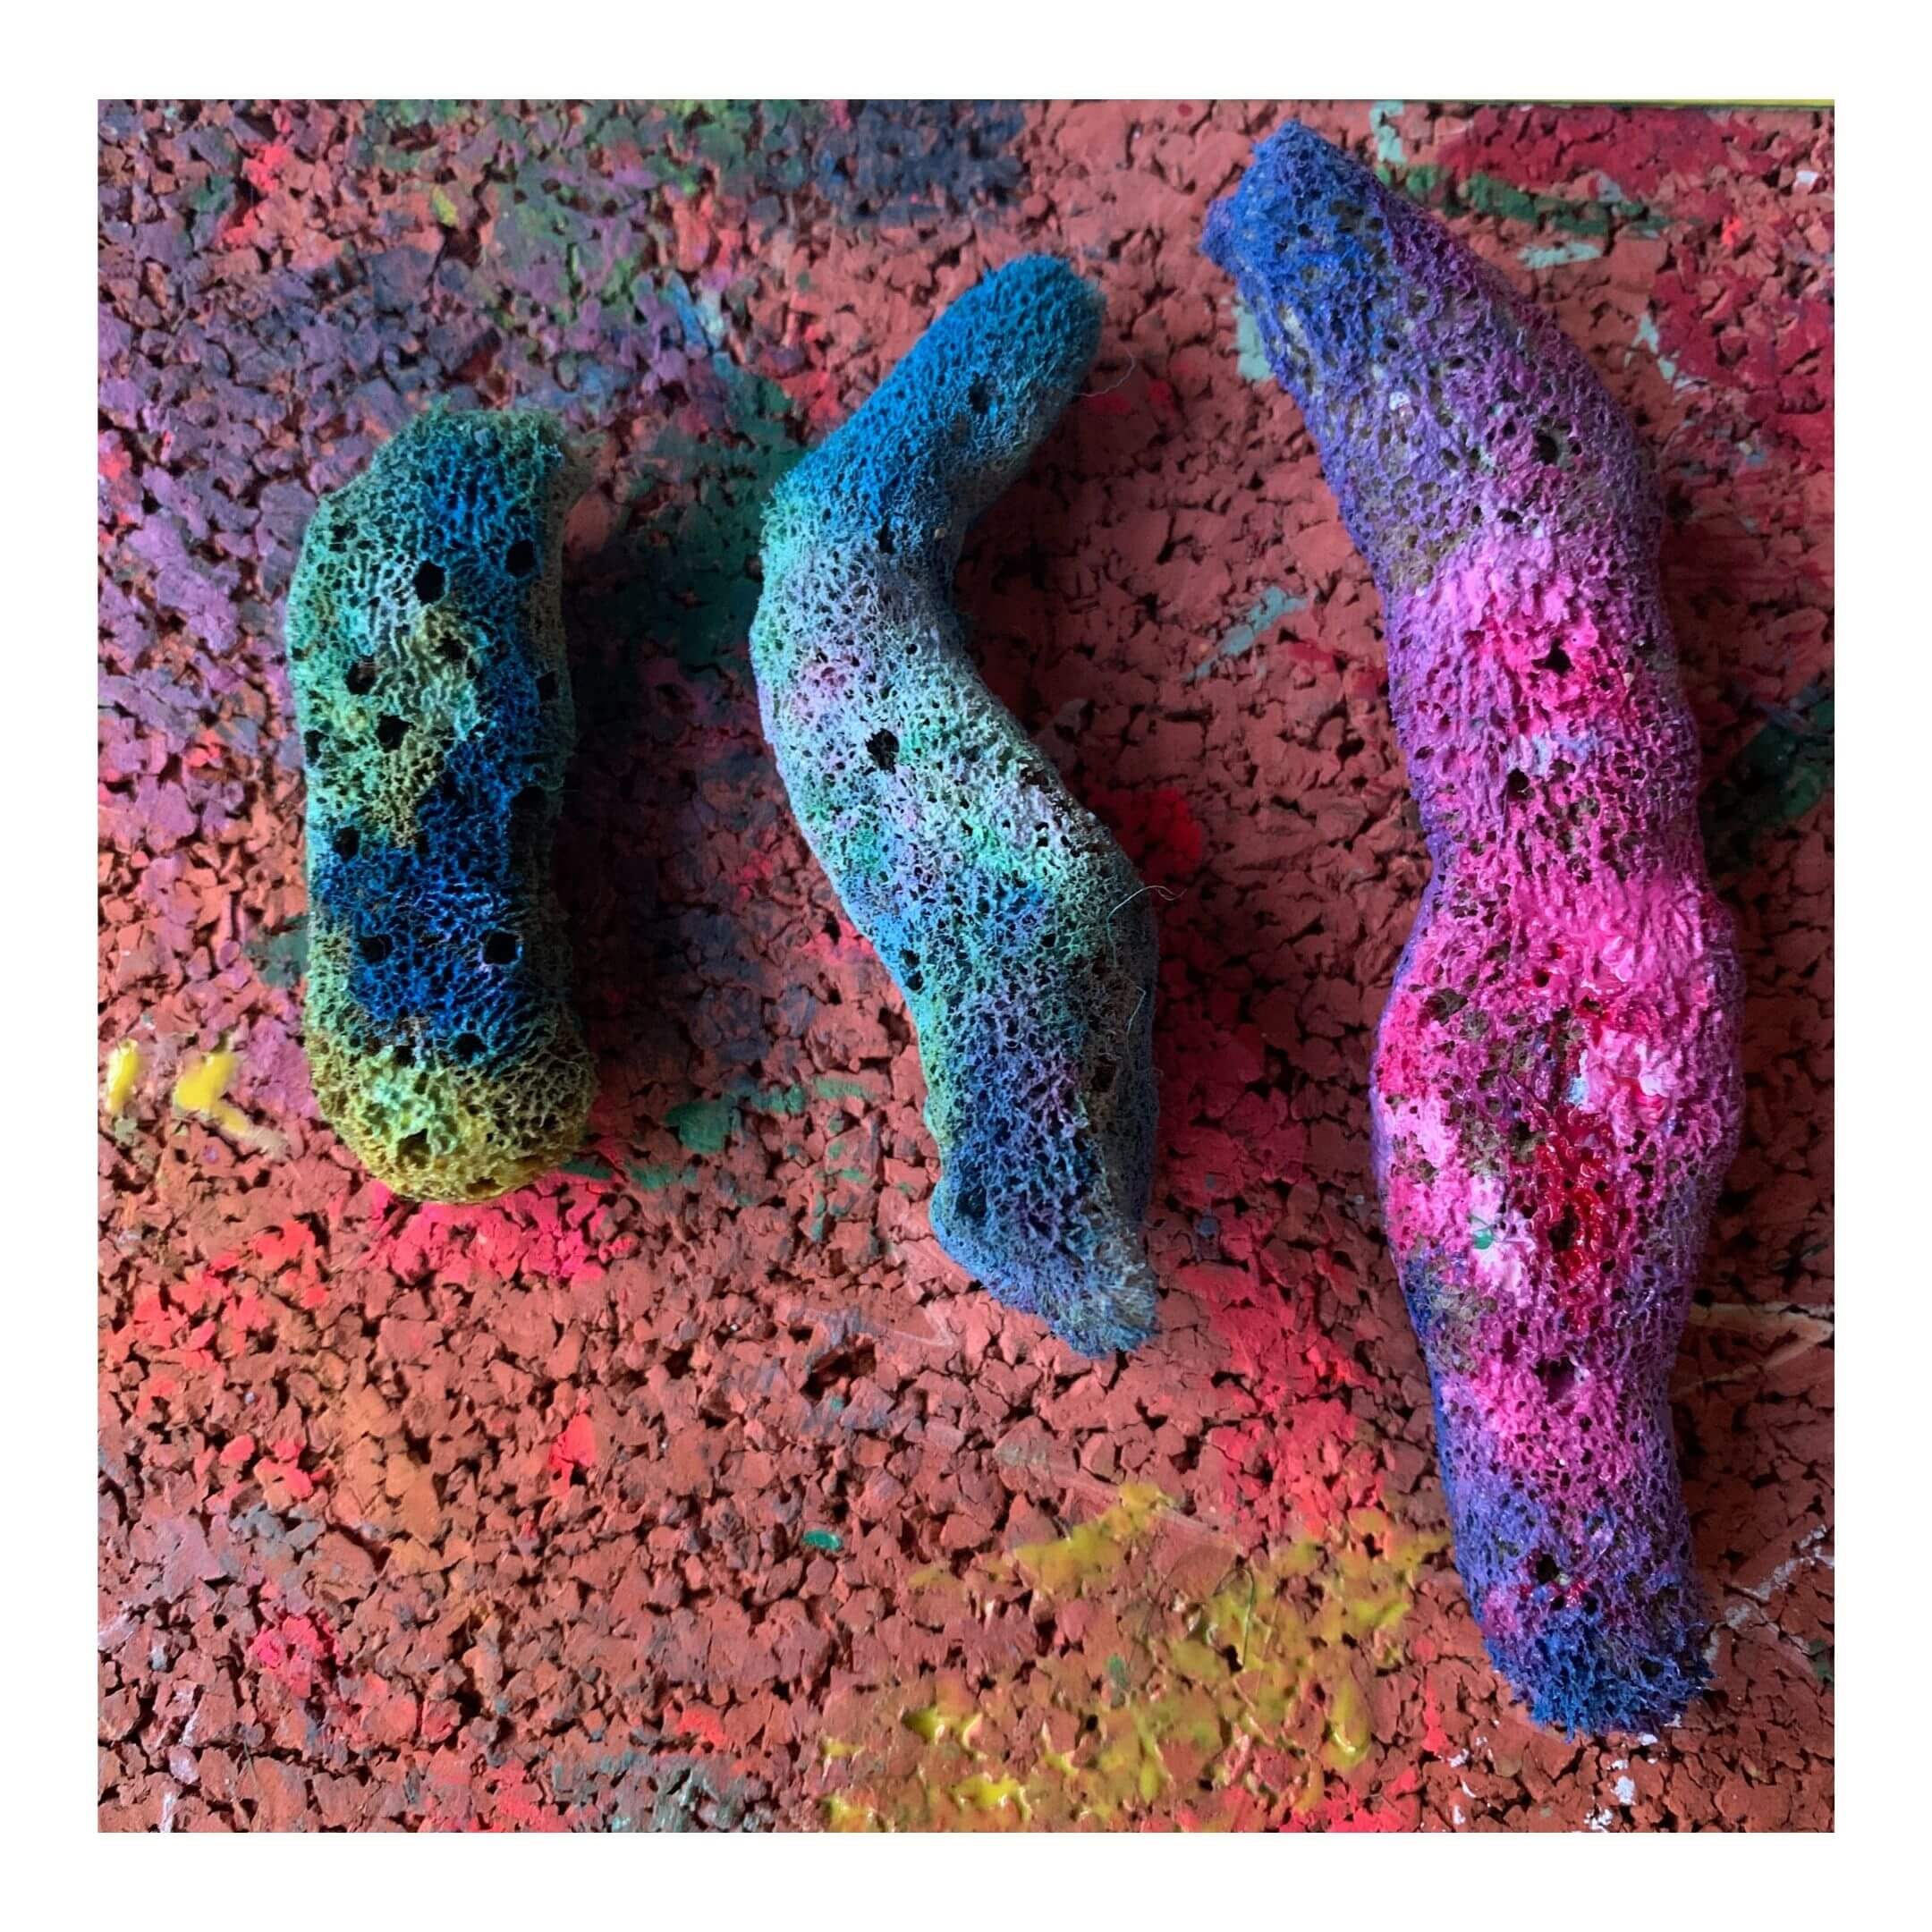
Clay Made Coral Reef
When I think of exploratory art making, I think of ways that we can get to recreate what nature already provides as inspiration. In this case we learned about the underwater world starting with corals.

Living in South Florida we've seen bits and pieces of coral wash ashore. These living organisms are the most diverse of all marine ecosystems and to learn about it we decided to create our own clay model using what we found at the beach.

Overfishing and destructive fishing, pollution and all things that cause a change in the ocean chemistry are all taking a huge toll on coral reefs. A big reason why ocean literacy needs to start young. And what better time to engage and inspire ocean advocates than childhood.

Time: 20 minutes Ages: Toddlers + Difficulty: Easy
Supply List
- Drift Wood
- Modeling Dough
- Seashells
- Loose parts (beads, bottle caps etc)

PROMPTS TO HELP YOU FURTHER ENGAGE IN THE ACTIVITY:
- Tell me about what you made.
- I wonder if our local coral reef has all these colors. What do you think?
- What colors did you use? Can you find these same colors in nature?
Please tag me in your creations on Instagram and FB and use the hashtag #EXPLORERARTLAB to spread the word. We hope you enjoy this activity and thank you for being part of our community to grow "Everyday Creative Explorers".
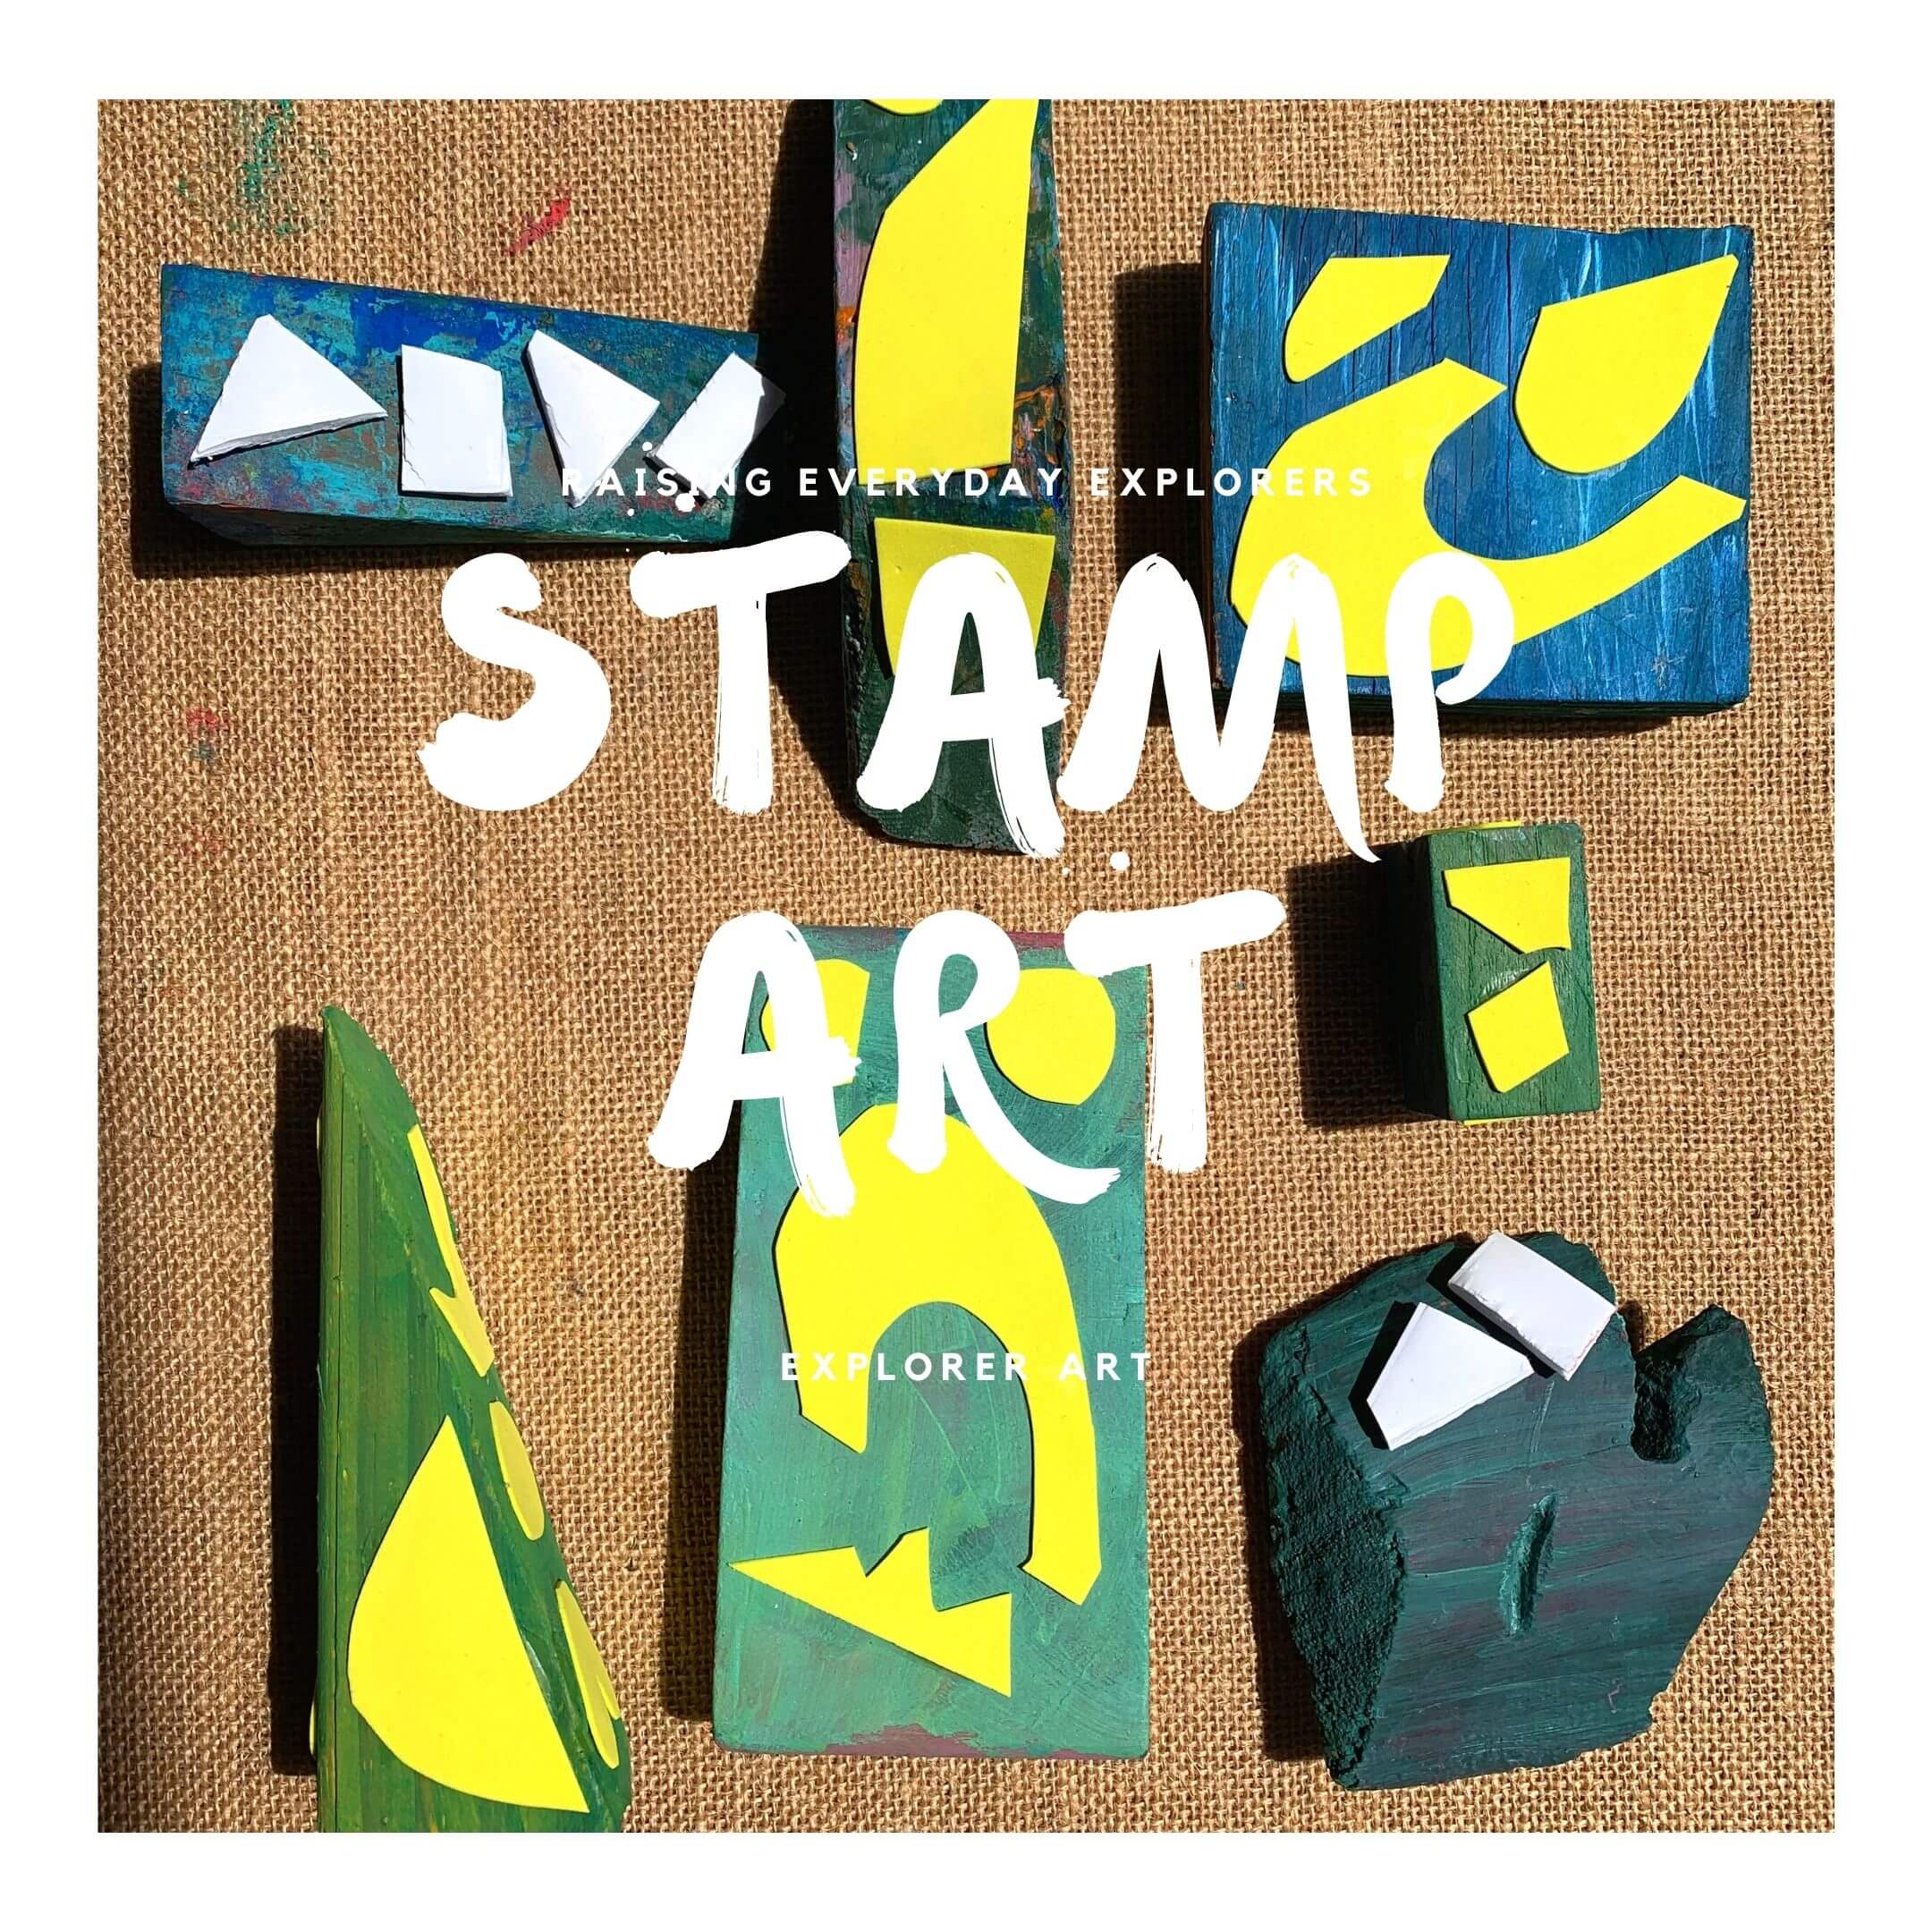
Printing with DIY Stamps
Everyone loves holding a stamp and getting a good print out of it. This project combines all of that: DIY stamp making, printing and up-cycling fun.
We turned our drift wood finds into a collection of stamps and made a good set of prints. The best part is that our up-cycled wood was the perfect size for a toddler to work his art magic.
If you have wood scraps laying around the house why not turn them into stamps. You can also cut cardboard, make it square size and layer together for a good stamp hold. If you want to get in on the fun, read below for our step by step process. Surely, stamp printing projects will be a favorite in your household.

What you’ll need to make the wooden texture stamps:
Supply List
- Acrylics
- Wood Scraps *Cardboard works just as good
- Paint brush
- Glue
- Foam craft sheets
- Mat Boards or Regular Paper Sheets

Step 1:
Set aside the wood scraps you plan to work with. Use about five foam craft sheets and cut out different shapes. Paste the shapes onto different sides of flat end of the wood. I know, most stamps only have one side. But, I wanted to take advantage and use all the sides available.
Step 2:
Once the foam sheet shapes have dried on the wood, select colors. We didn't have ink, so we made it a bit more fun. We took a paint brush and painted over the shapes. It required greater skill and ended up being just as messy as ink.

Step 2:
You are ready to start start stamping away. Make sure to have ample boards for your prints. We used all the different sides and overlapping happened.

Perfect abstract art that only our mini artists know how to create.
PROMPTS TO HELP YOU FURTHER ENGAGE IN THE ACTIVITY:
- What shapes did you create?
- Did you like painting each stamp with different colors?
- These patterns look great, which one is your favorite?
- It is so much fun to use wood we had laying around the house!
Please tag me in your creations on Instagram and FB and use the hashtag #EXPLORERARTLAB to spread the word. We hope you enjoy this activity and thank you for being part of our community to grow "Everyday Creative Explorers".
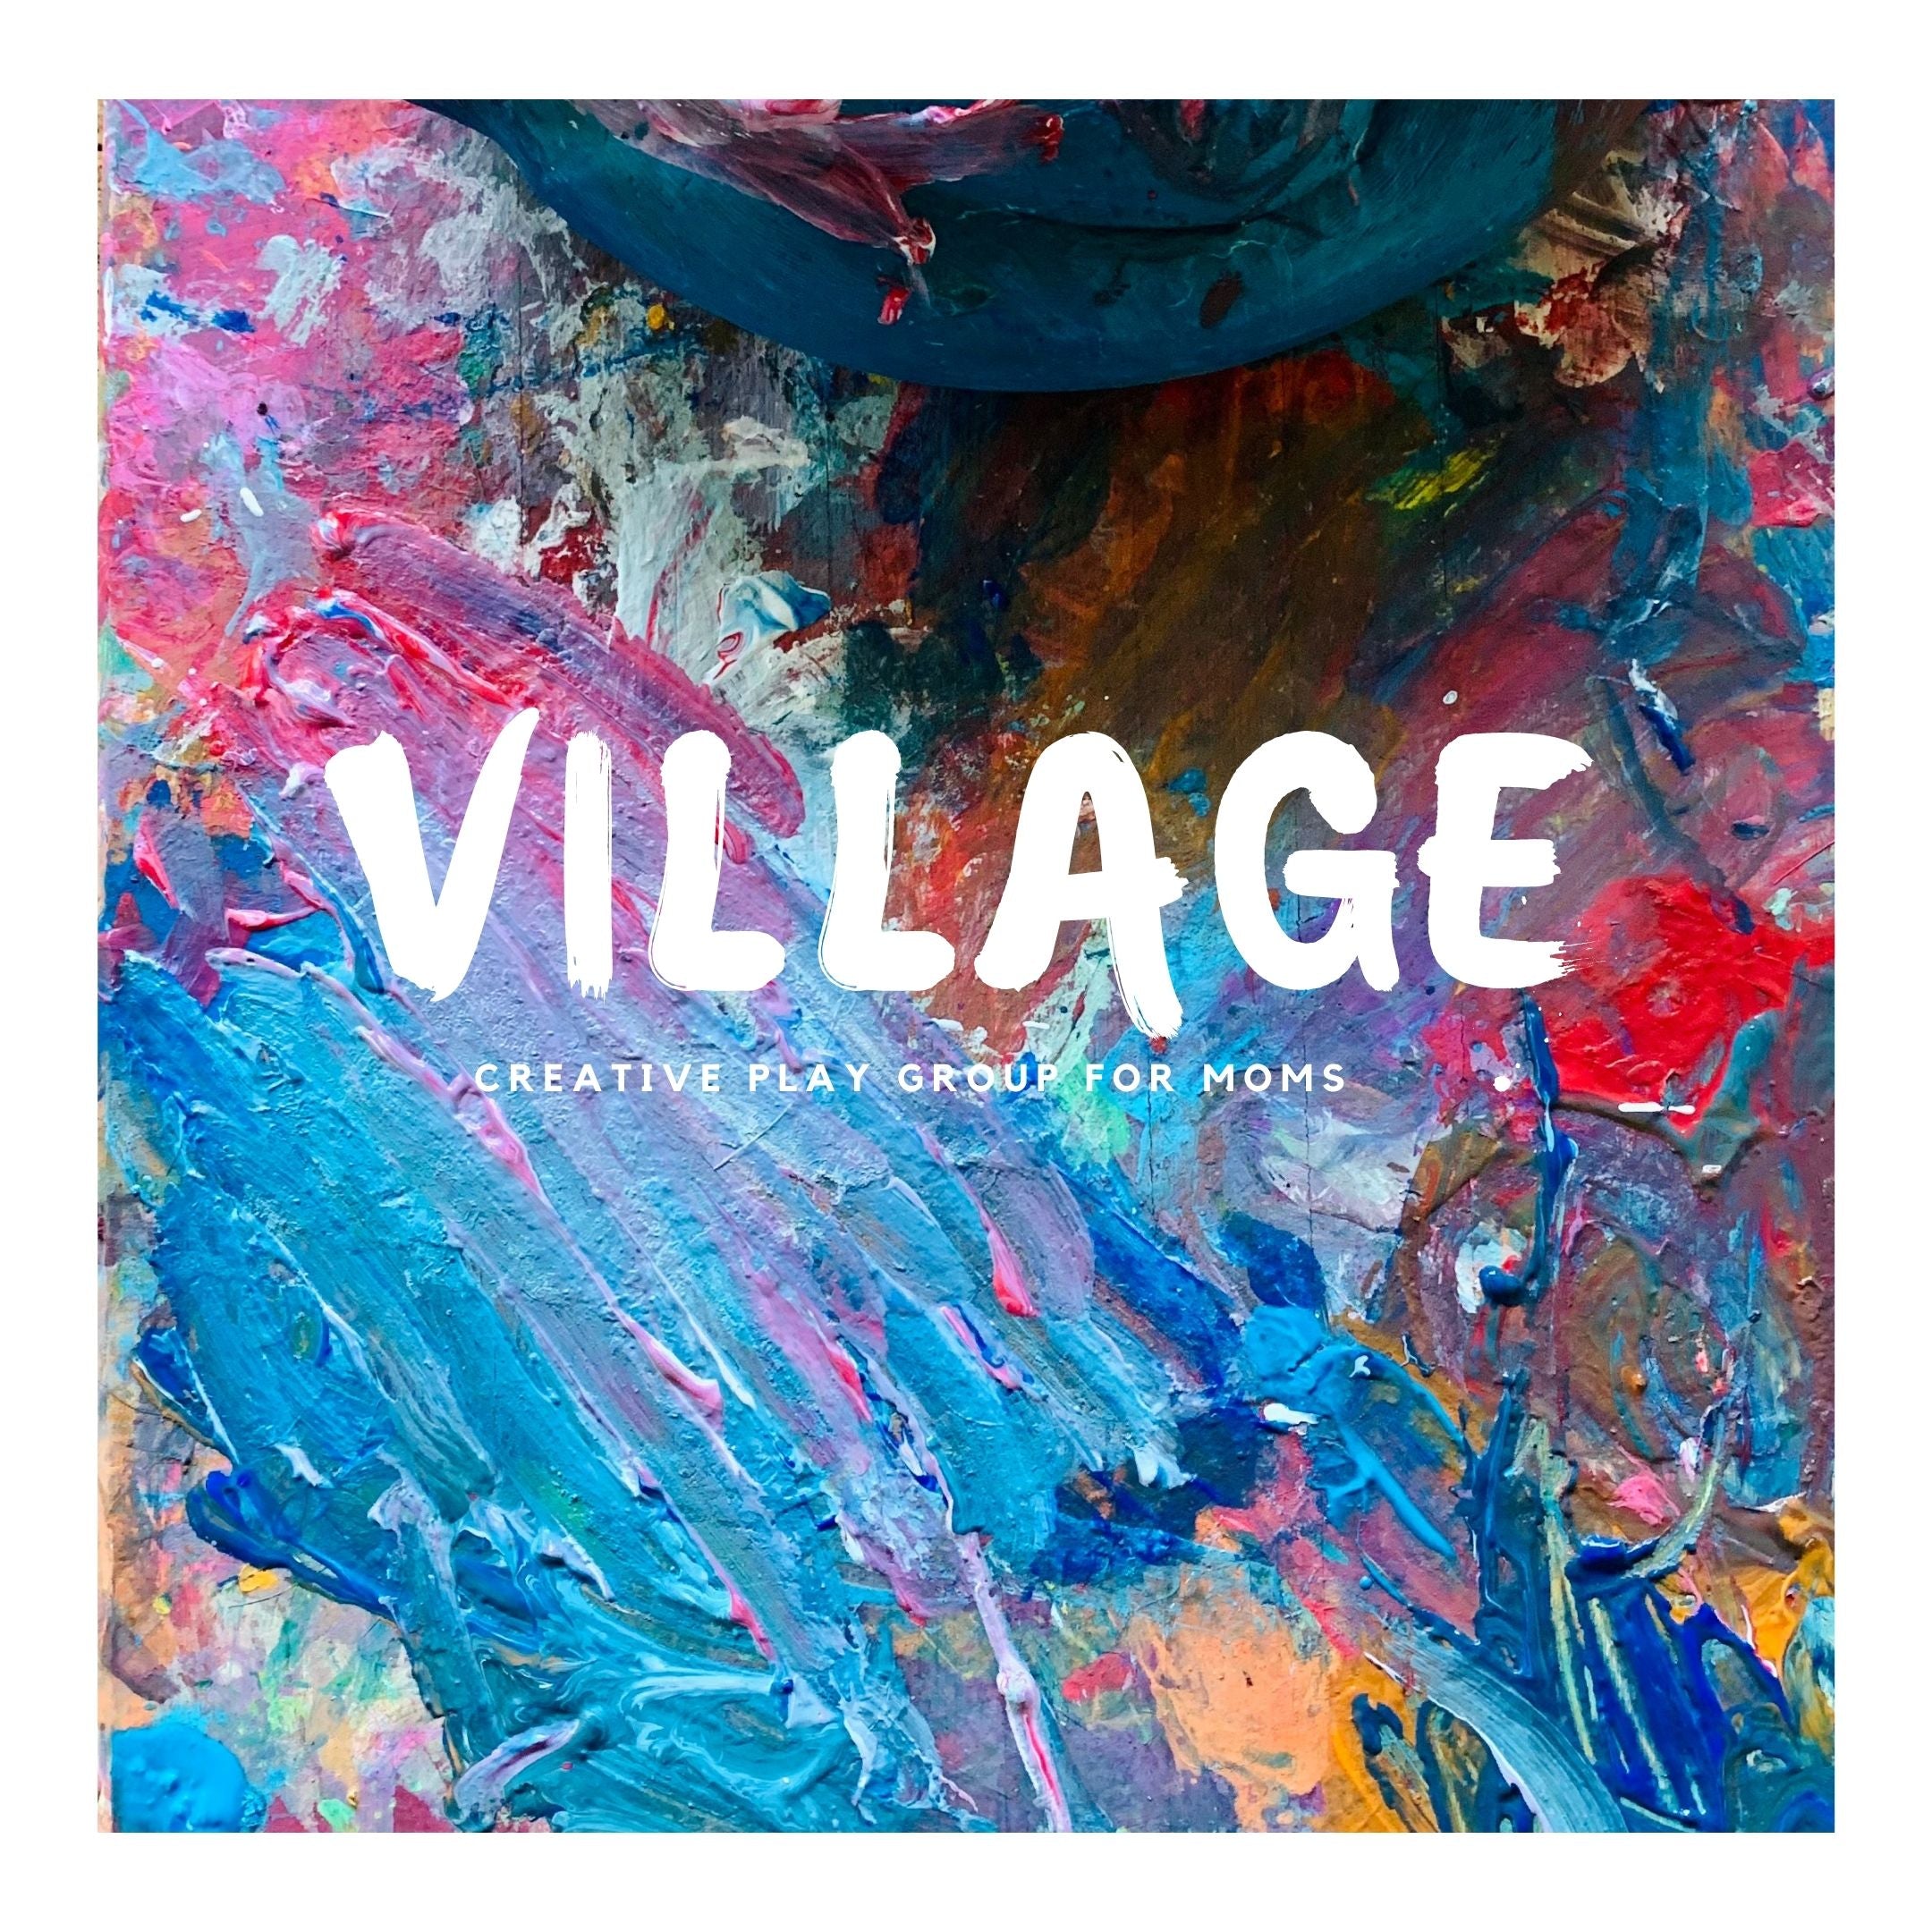
Playgroup Creative Village Invite
The "Creative Village" is a grown-up playgroup, for creative moms and their little ones. Once a month we get together to talk, make, and share projects we've been working on. We exchange stories on passion projects, talk hobbies, design, have a clay date, make stuff, and sure occasionally there's talk about multivitamins. (We aren't the typical mom group if you get the vibe). We enjoy getting messy for art!

We promise a no-pressure crafting fun zone. Away from the daily parenting grind we learn something new and have a great time. Bring along your mini artist, there is an art station set up for them to have fun while we chat and craft.
Sign-up here to join!
Where do you meet? Details provided via invite.
Top 3 Questions To Ask for A Process Art Experience
Is it tactile? Kids like using their hands to manipulate different types of materials with different textures. Exploring how things feel, fit together and come apart is an exploratory adventure already. Collage, sculpture and fun assembly projects make this easy. Best part is no matter the theme, you know that your students are working towards developing those important fine and gross motor skills.

Is it sensory? A sensory environment can be set up in different ways. They can be found objects in nature, plastic items from the craft store or whatever recycled trinkets you've set apart. Playing with these types of materials are great for children's development. It allows them to explore and investigate in new ways.

Is it open-ended? Children generally love when they have an opportunity to play and explore freely. When using open-ended materials the activity goes from average to having a high potential for supporting creative thinking. Allow your children to explore materials as they see fit.

Hopefully these three questions will help you in the journey of art exploration!
Creative Ocean-Minded Kids Projects
Welcome to our "idea room" where it's cluttered with things that spark for a creative adventure. Together, we dive into the curious world of little artists and explore together. Freebies of play-based, art ideas and engaging activities.

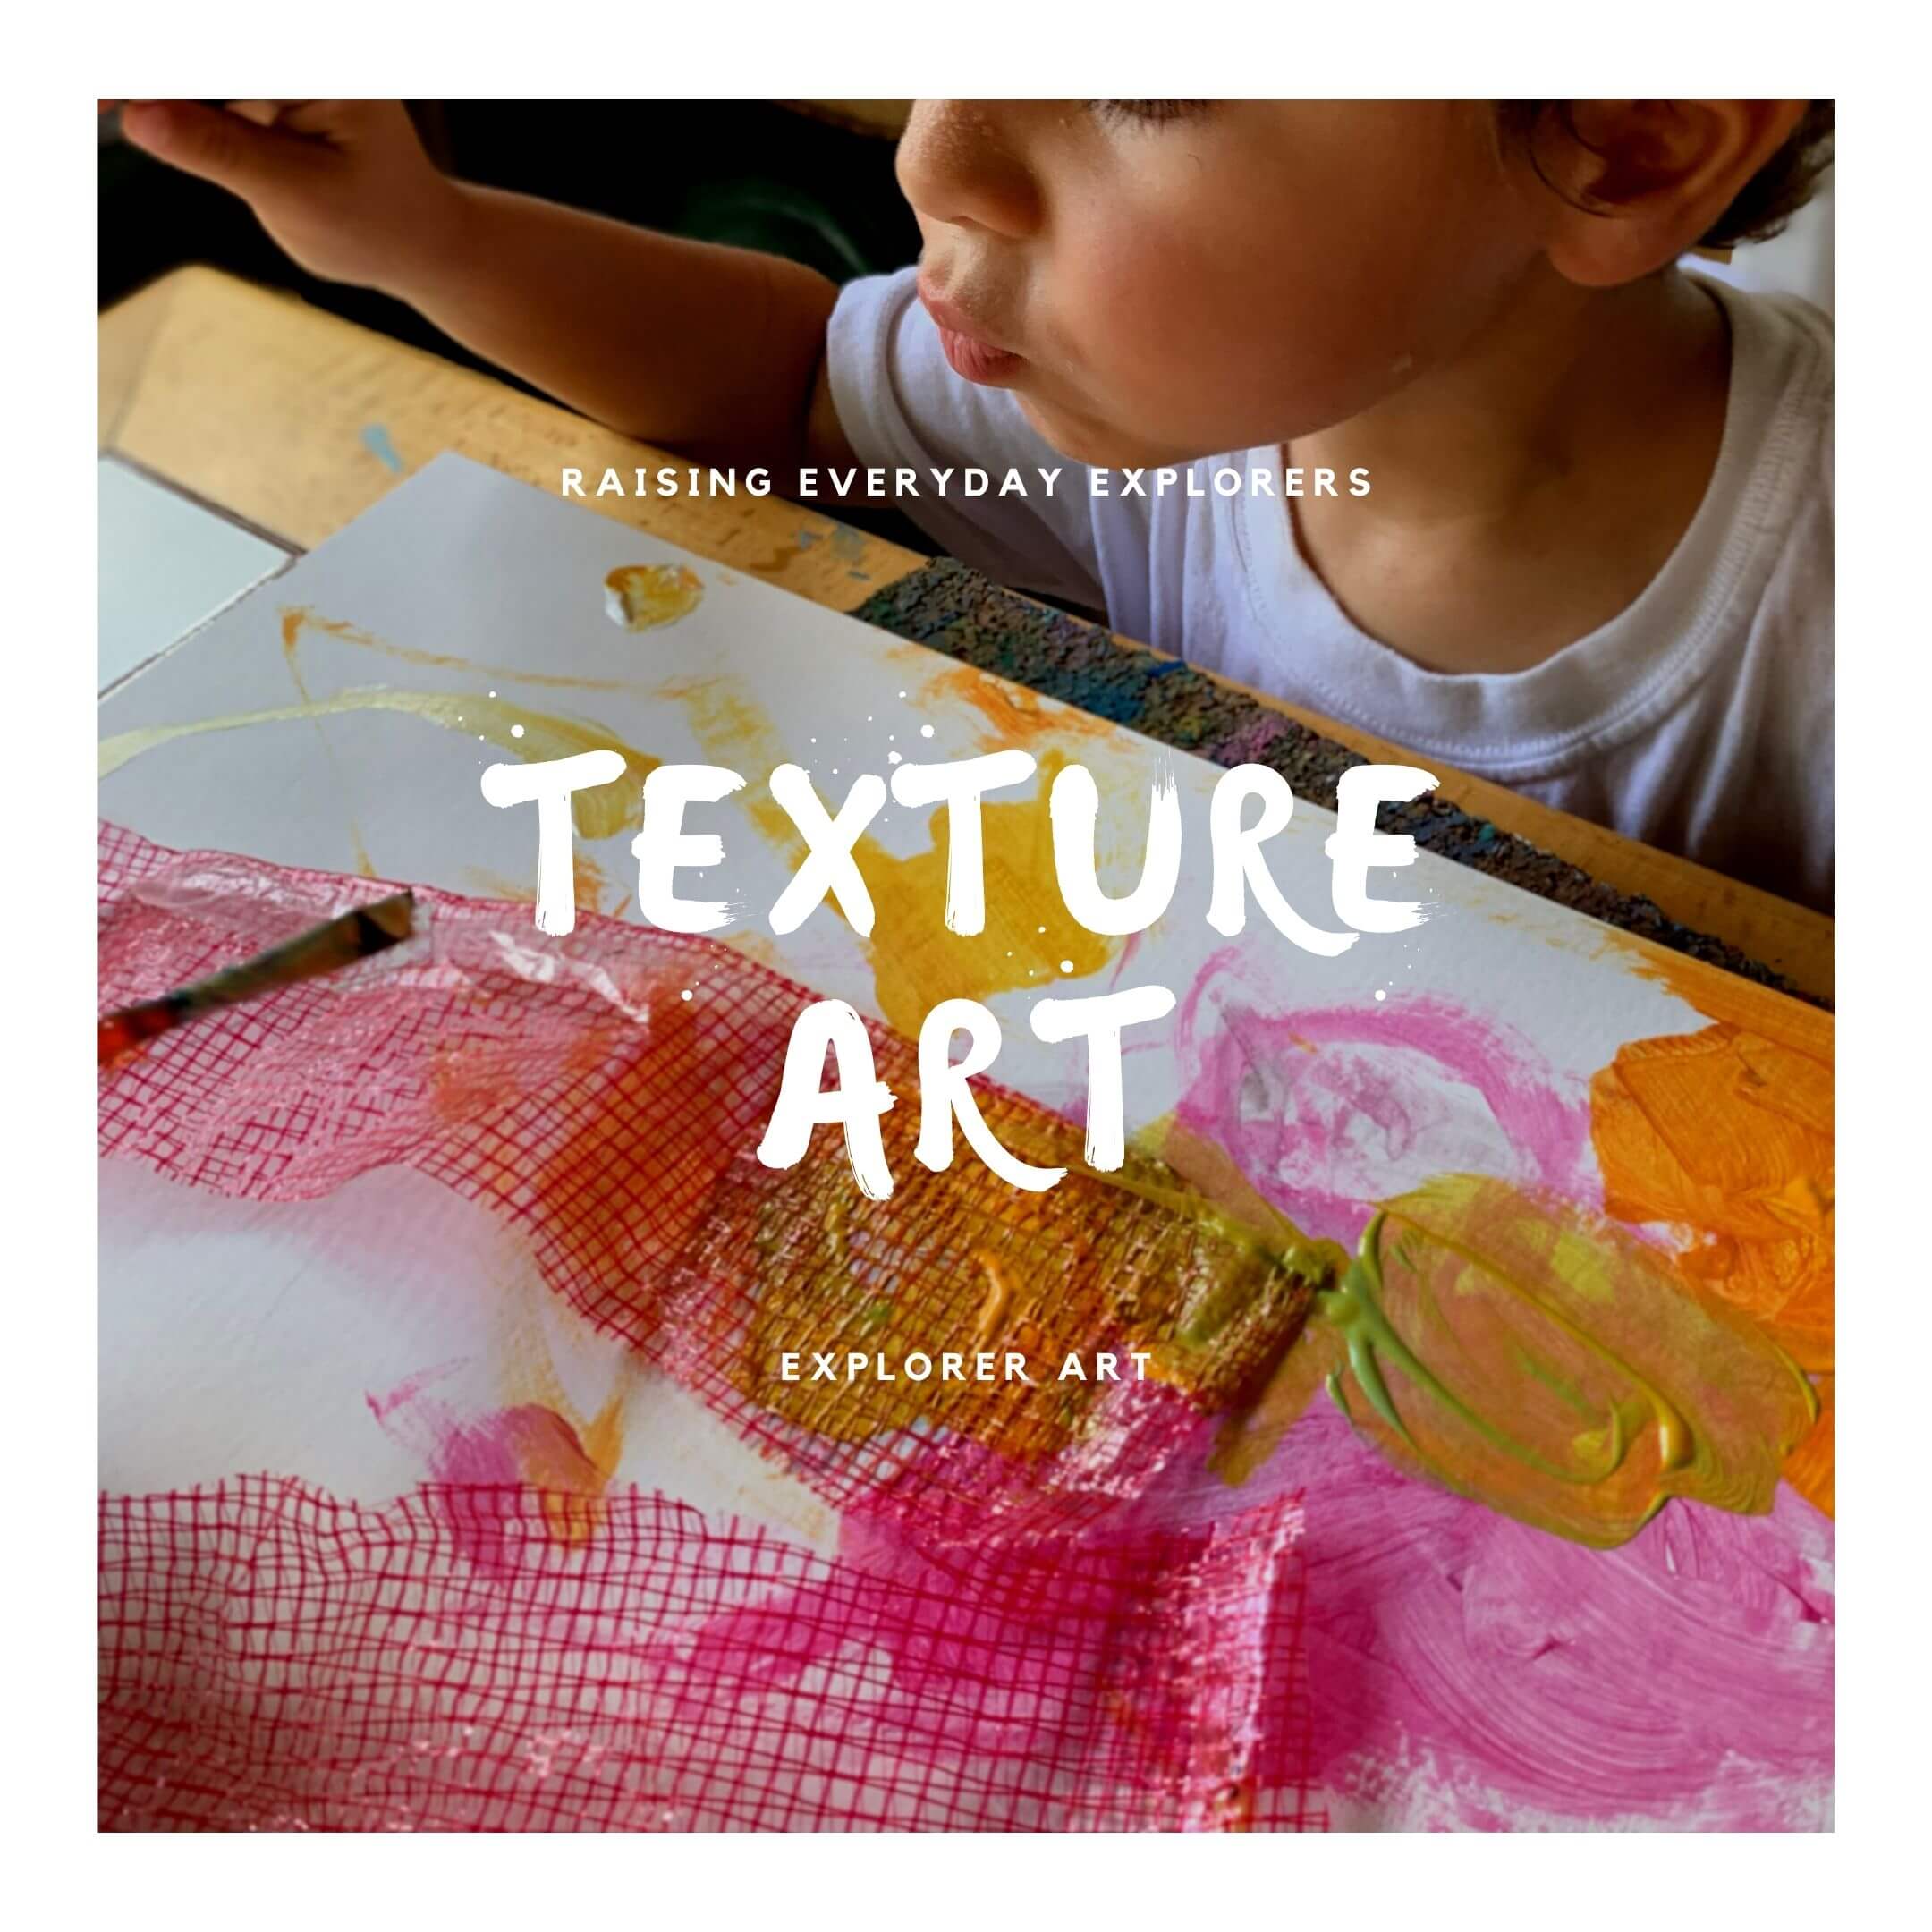
Texture Prints
Learning to add texture to art adds a whole new dimension to artwork. Trust me, we tried it. This project proved for fun discovery art mode. We started with questions:
- What happens when you paint over the textured surface?
- What about we cover our board with a collage of recycled materials?
When we applied netted fabric to our board, it turned out to be a fun sensory, textured experiment. Give it a try!
Textured Art

Time: 10 minutes Ages: Toddlers + Difficulty: Easy
Supply List
- Large Paper Board or card board A3 size
- Paint (Temperas)
- Glue
- Container to mix paint
- Loose parts (We used recycled grocery fruit nets)
- Paint brush
Step 1:
Start with explore as the lines, bumps and feel of the different materials you will use. Take your board and apply the net. Watch how paint took to the textured parts differently.
Step 2:
Paint along the top or right inside the grooves. Use a paint brush lightly over the surface to only paint the material on top.

PROMPTS TO HELP YOU FURTHER ENGAGE IN THE ACTIVITY:
- Tell me about the different colors you used?
- Do you think we can use this net for something else?
- What will you name your art project?
Please tag me in your creations on Instagram and FB and use the hashtag #EXPLORERARTLAB to spread the word. We hope you enjoy this activity and thank you for being part of our community to grow "Everyday Creative Explorers".
Creative Lab
Want a space and some materials for your little one to explore, create and invent? We can help you design one or join us, at our Kids Art Classes.
Projects and activities are always fun and promote independence, creative thinking, and problem-solving skills. Teaching goal is to foster a positive learning environment filled with creativity and to help protect natural habitats through education and art.
If you've got a mini adventurer then check out our Explorer Lab sessions. In the early AM we get together to explore coastal habitats in search of critters, seashells and more. We go on a nature walk, learn about the ocean and enjoy a simple craft project.
If you love to collaborate our "Creative Village", a friendly kid + caregiver group might be more your speed. We put creativity first, talk passion projects and make art together. Click here for an invite!
