Everyone loves holding a stamp and getting a good print out of it. This project combines all of that: DIY stamp making, printing and up-cycling fun.
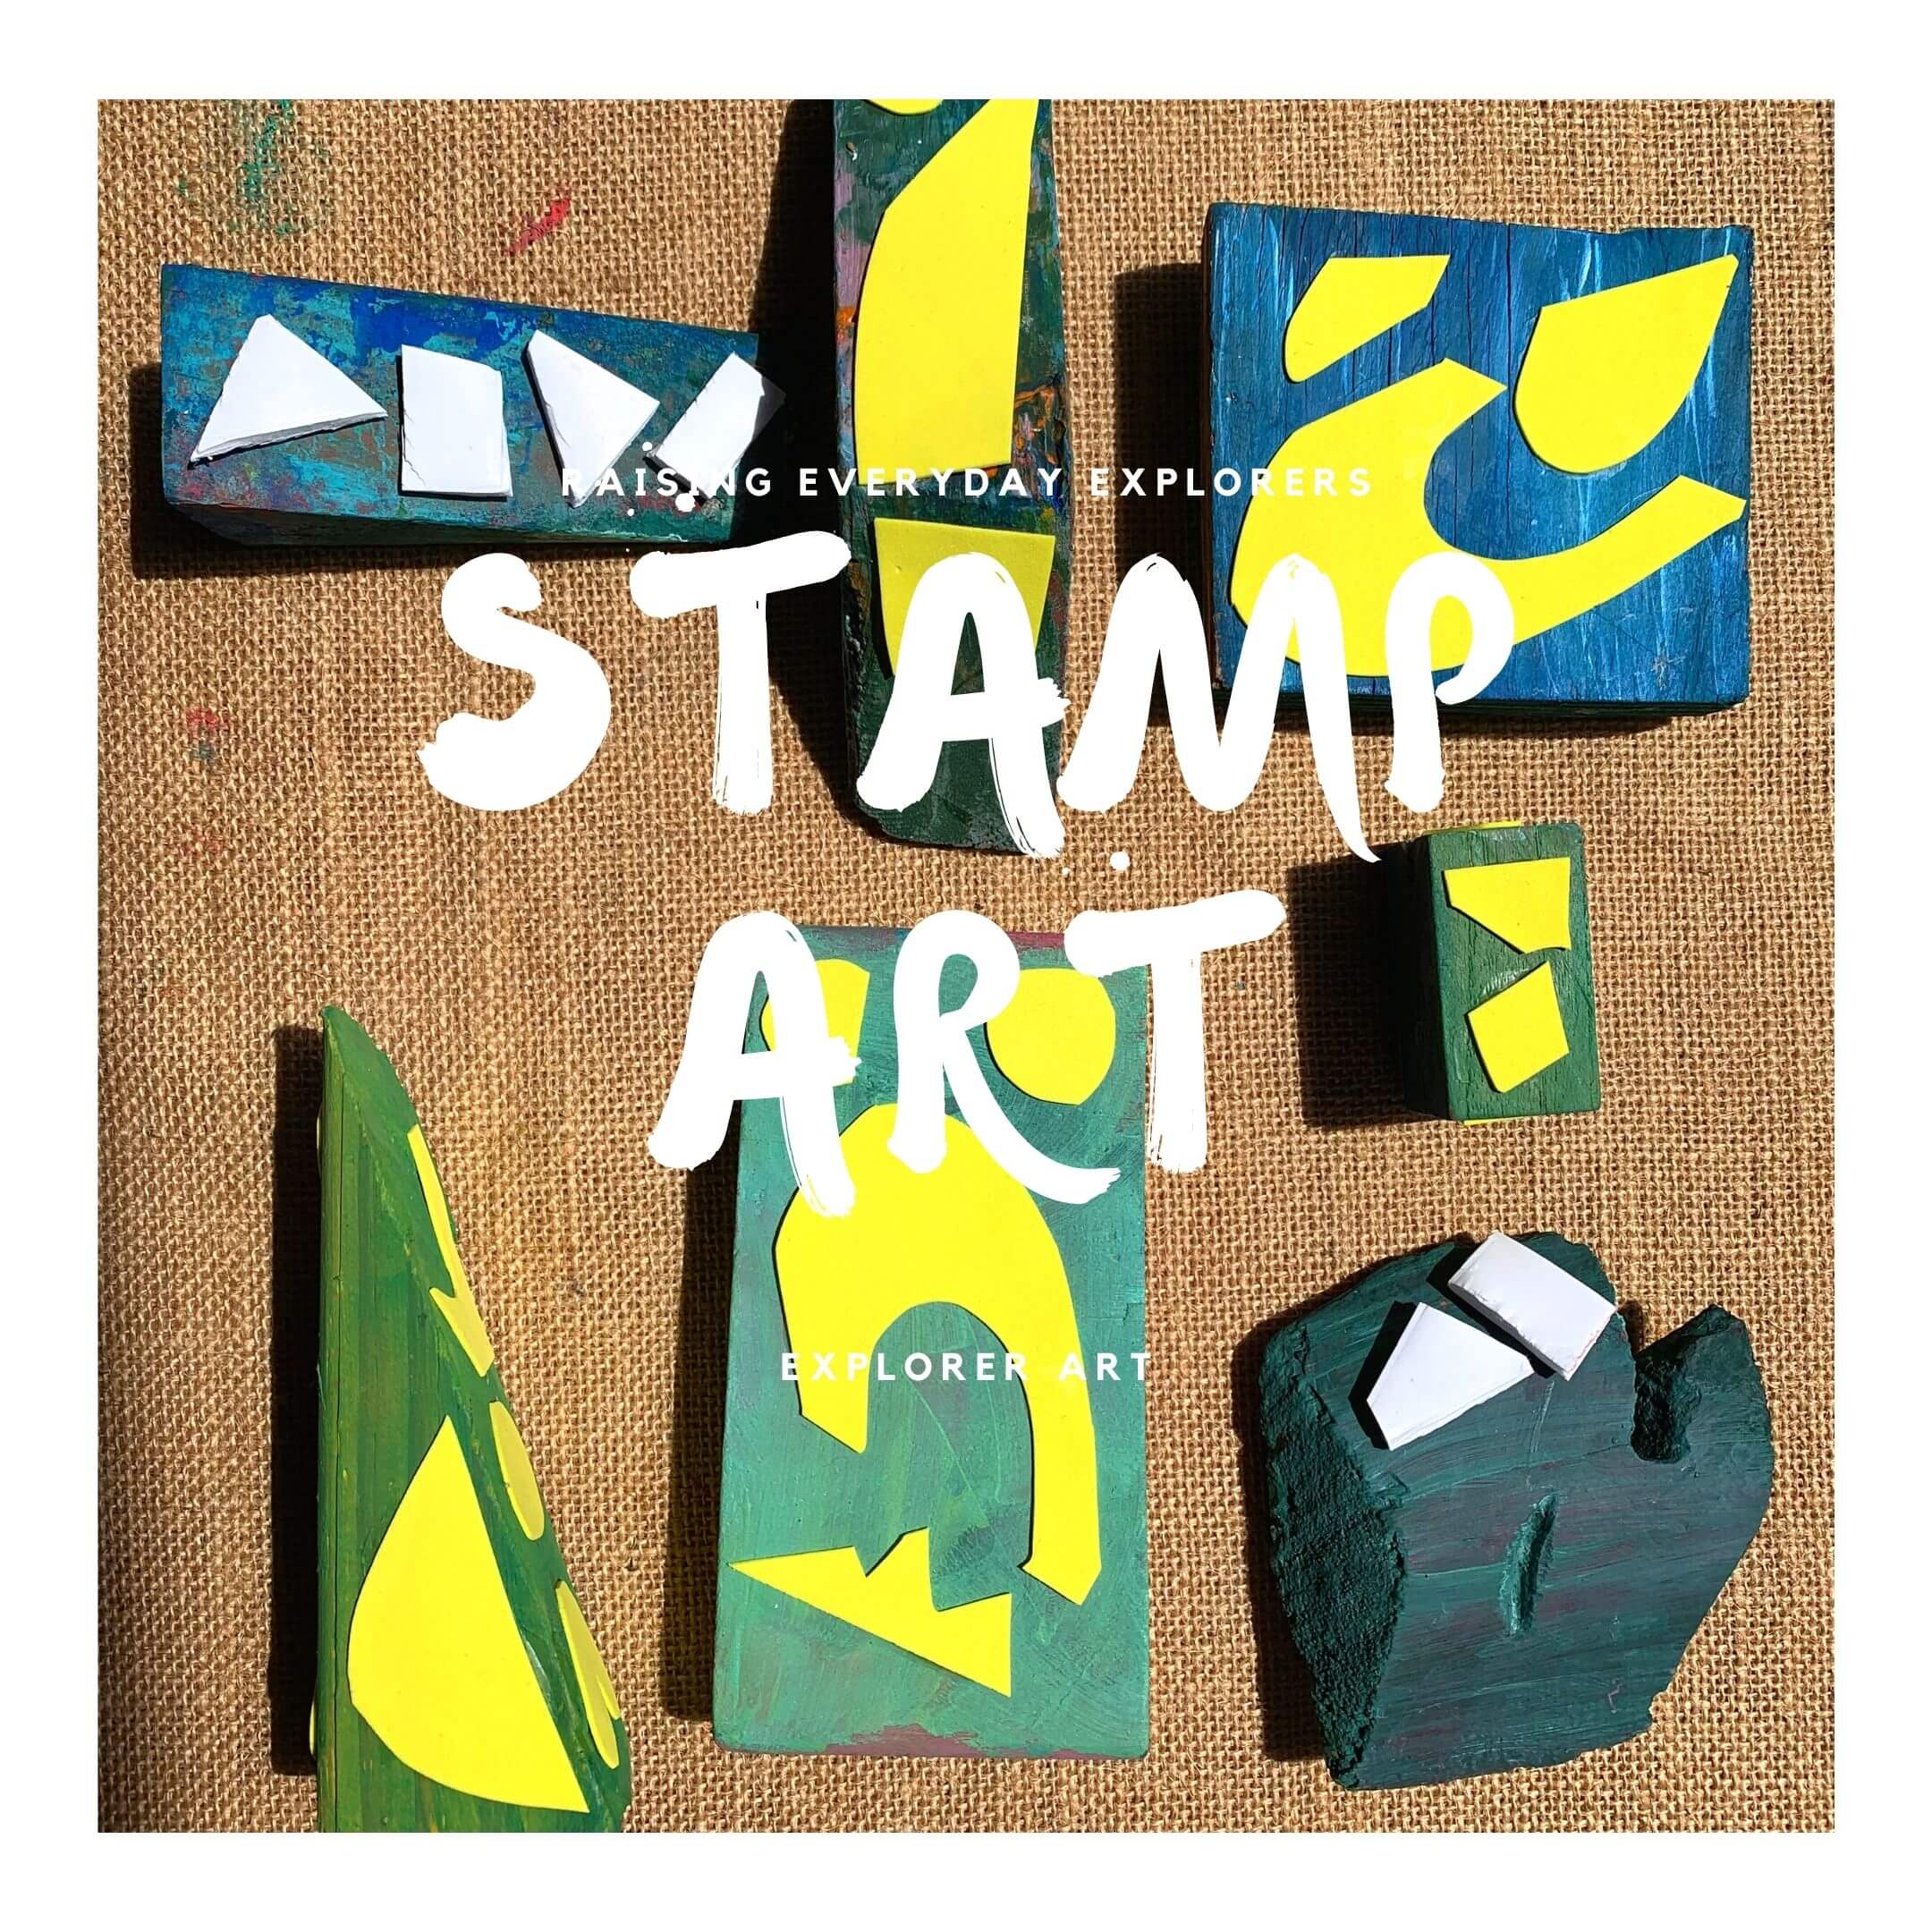
We turned our drift wood finds into a collection of stamps and made a good set of prints. The best part is that our up-cycled wood was the perfect size for a toddler to work his art magic.
If you have wood scraps laying around the house why not turn them into stamps. You can also cut cardboard, make it square size and layer together for a good stamp hold. If you want to get in on the fun, read below for our step by step process. Surely, stamp printing projects will be a favorite in your household.

What you’ll need to make the wooden texture stamps:
Supply List
- Acrylics
- Wood Scraps *Cardboard works just as good
- Paint brush
- Glue
- Foam craft sheets
- Mat Boards or Regular Paper Sheets

Step 1:
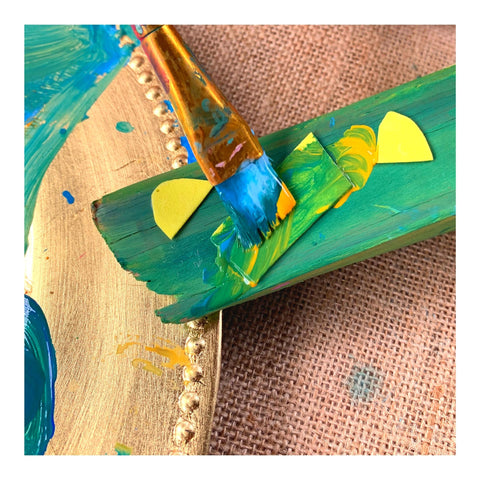
Set aside the wood scraps you plan to work with. Use about five foam craft sheets and cut out different shapes. Paste the shapes onto different sides of flat end of the wood. I know, most stamps only have one side. But, I wanted to take advantage and use all the sides available.

Step 2:
Once the foam sheet shapes have dried on the wood, select colors. We didn't have ink, so we made it a bit more fun. We took a paint brush and painted over the shapes. It required greater skill and ended up being just as messy as ink.

Step 2:
You are ready to start start stamping away. Make sure to have ample boards for your prints. We used all the different sides and overlapping happened.

Perfect abstract art that only our mini artists know how to create.
PROMPTS TO HELP YOU FURTHER ENGAGE IN THE ACTIVITY:
- What shapes did you create?
- Did you like painting each stamp with different colors?
- These patterns look great, which one is your favorite?
- It is so much fun to use wood we had laying around the house!
Please tag me in your creations on Instagram and FB and use the hashtag #EXPLORERARTLAB to spread the word. We hope you enjoy this activity and thank you for being part of our community to grow "Everyday Creative Explorers".

